
An Unexpected Prop Shaft Job
May, 2025.
We originally put Blue Turtle on the hard for only two major reasons: to replace the rigging, and to replace the fixed propeller with a feathering one from MaxProp. Time allowing, I also planned to have the bottom repainted.
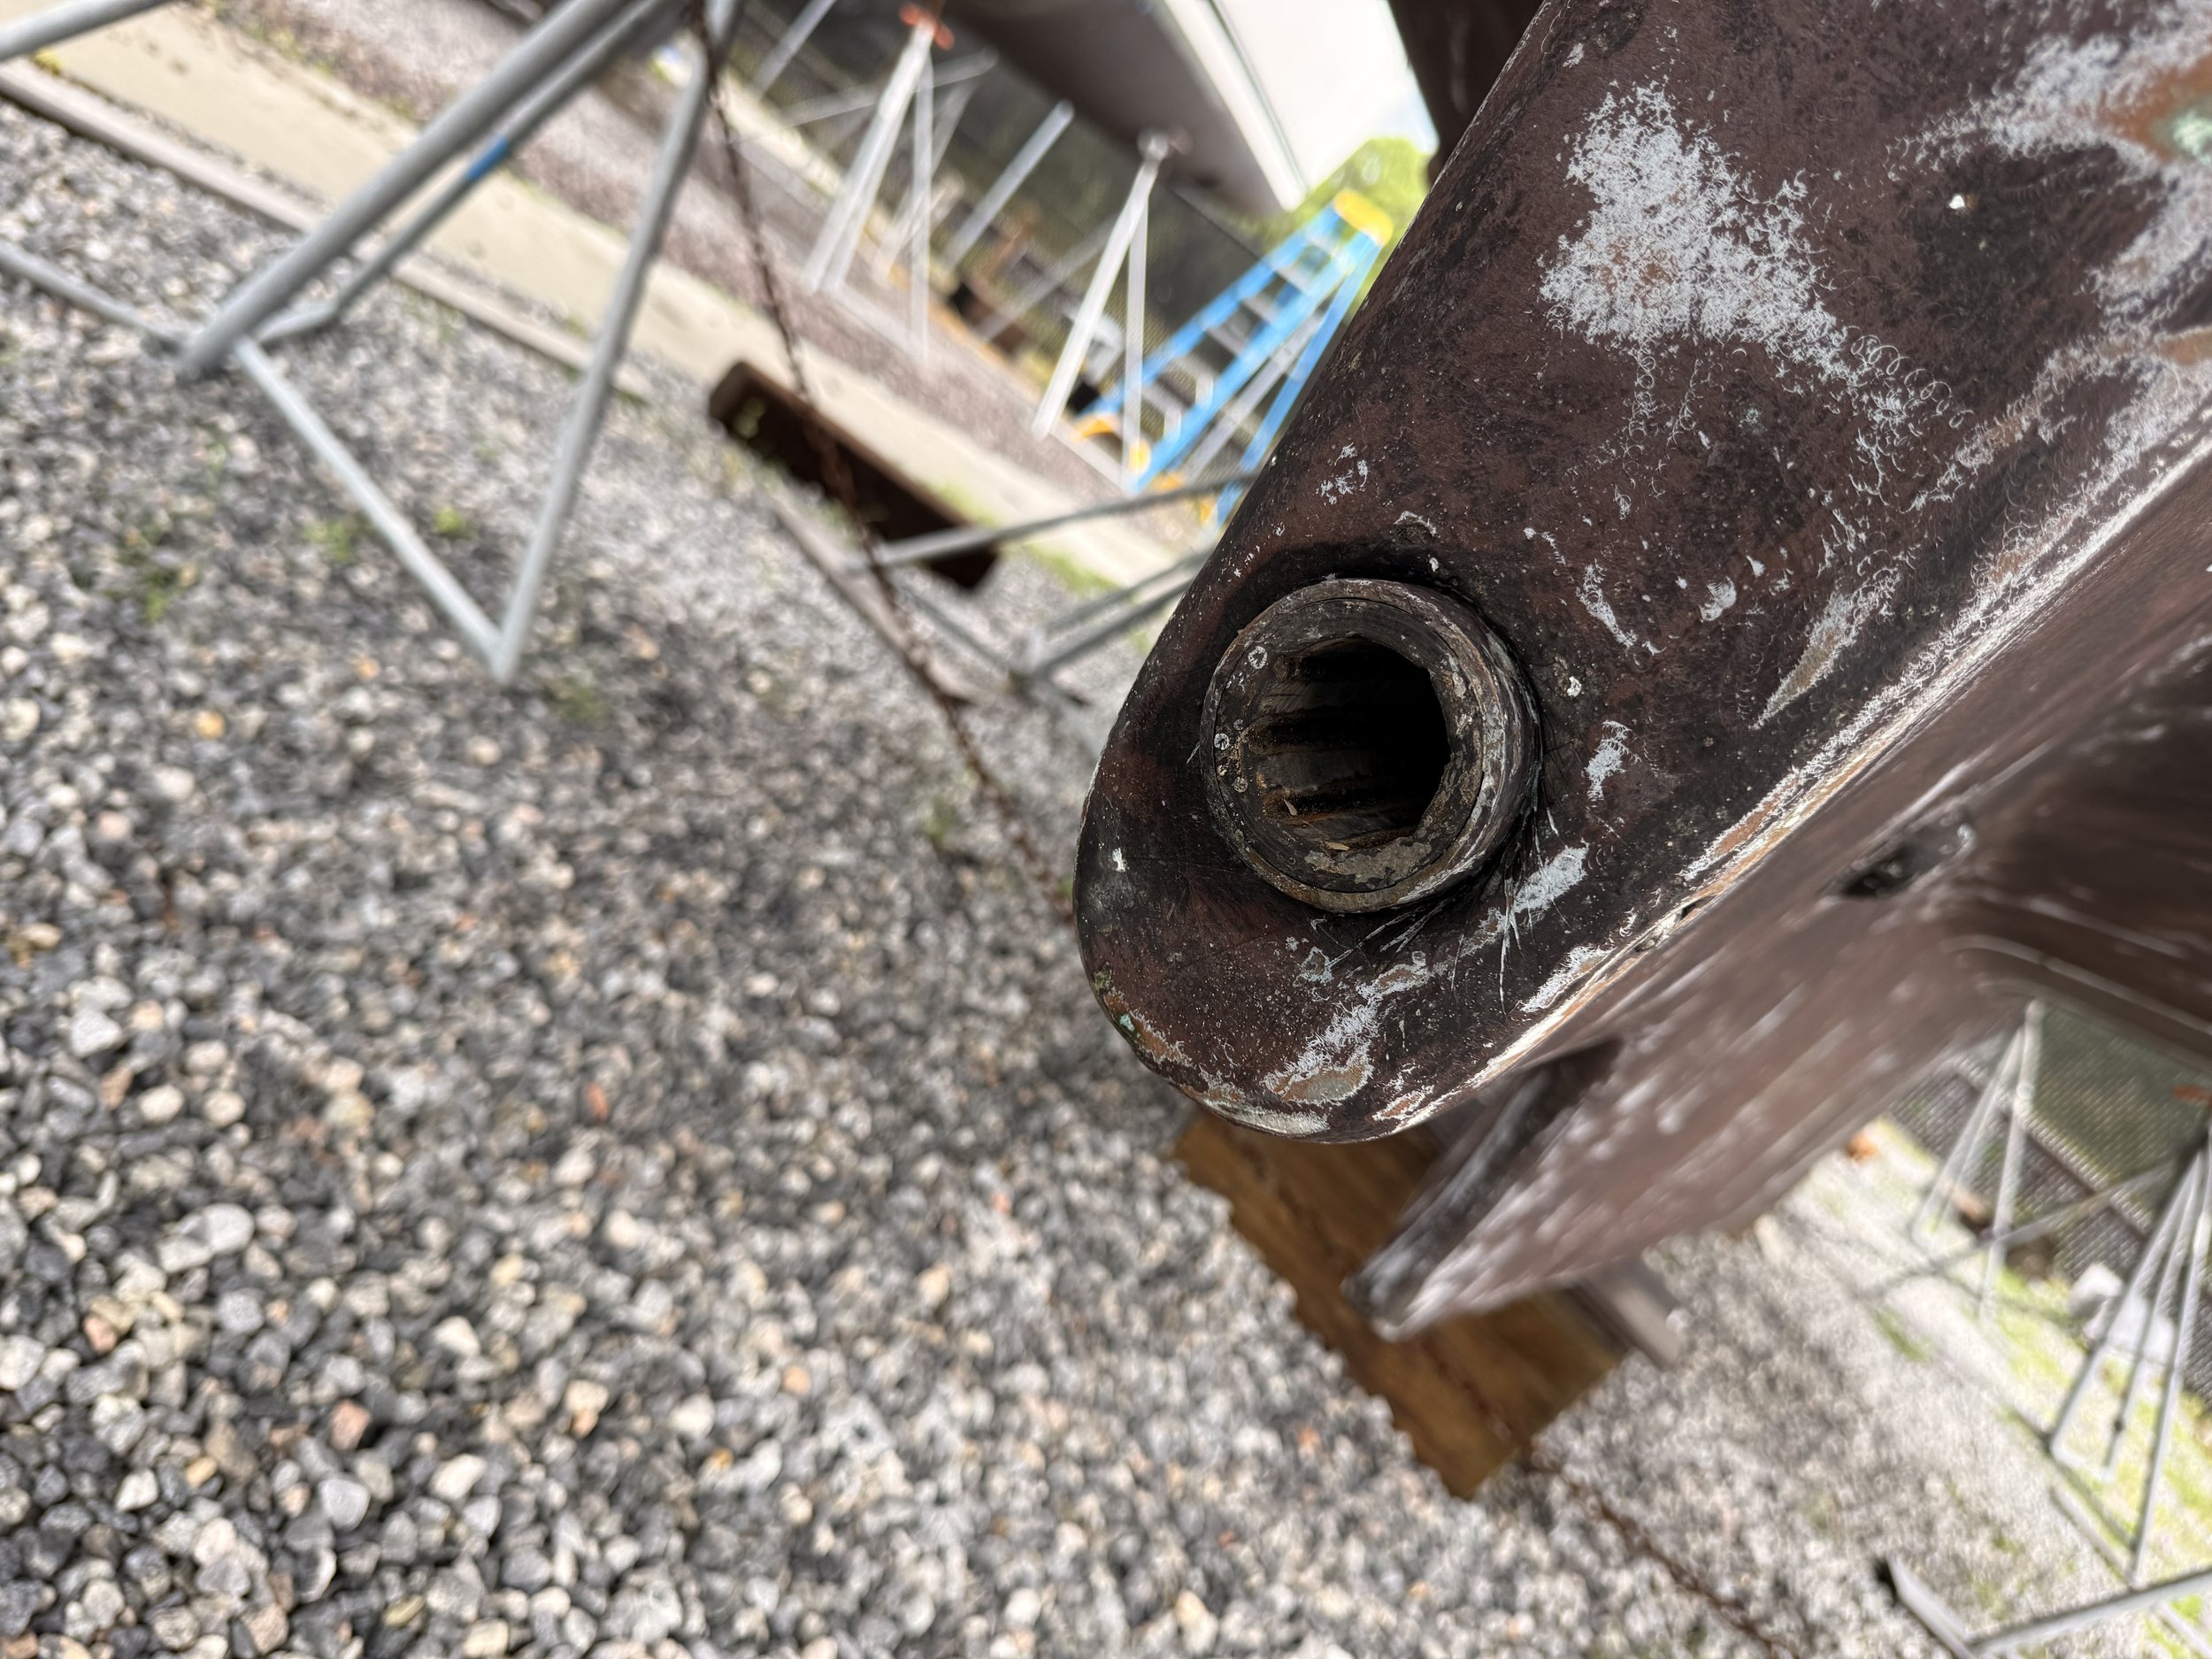
While I was working on removing the old chainplates, the yard sent over their mechanic, Gary, to start working on the prop. While doing so, he noticed and showed me some play in the prop shaft - a telltale sign of a worn out and often-misspelled cutless bearing. (Technically, Cutless bearing, as it’s a trademarked name from Johnson.)
The old bearing.
A cutless bearing is a rubber bearing, often inside of a bronze tube, which supports the propeller shaft as it emerges from the boat via the shaft log (a fiberglass tube on Blue Turtle, aft of the engine itself). When they wear out, the rubber has worn down enough to allow the shaft to move laterally, which is a bad thing because it can allow the shaft to slip out of the tight alignment with the transmission needed. Failing to replace the bearing can result in vibrations and transmission damage, and typically the latter is a rather expensive proposition.
Gary removed the set screws that hold the bearing in place, but even with them removed, it wouldn’t budge. Such is not unexpected, but the engine room afforded very little access to the inboard side of the shaft log, and there was concern voiced that that bearing itself had been epoxied or even 5200-ed in, either of which would pose a serious problem. Moreover, upon closer inspection, the shaft itself was both slightly bent and pitted, and it was likely going to need to be replaced as well.
To complete the trifecta, I was aware that the stuffing box was leaking and needed to be repacked. A stuffing box (sometimes called a packing gland) forms a seal where the shaft enters the boat, preventing water incursion while allowing just enough seawater to flow over the shaft to keep it cool when underway under power. Historically, a stuffing box would be packed with tallow-impregnated flax. Modern boats typically use PTFE (e.g., Teflon) impregnated flax, or similarly treated graphite fibers (a blend of graphite and slippery fibers made by the company responsible for GoreTex).

The yard considered the job and concluded that the risk of complication was simply too high - they would not take the job on. That left us in a tough spot: with a compromised shaft, moving the boat put the transmission at risk.
I chatted with Jamie, who suggested that they could help extract it via a slide hammer, but scheduling would be tricky - and my preference was not to take such kinetic measures, given the risk of shaft log damage. Instead, I came up with a two part plan: first, we’d cut the old shaft in half, remove it from the transmission, and have a new one made locally, and second, I’d assist with crawling behind the motor if the yard would provide expertise. After some consideration, they agreed, and also agreed to extend us on the hard until November if needed.
I measured the distance from the skeg (the forward rigid fixture that protects the rudder) and the bearing, and concluded that while a tight fit, we’d be able to get the new shaft in. A few days later, Gary cut out the old shaft, and we sent it to Dominey Propeller Service, a local shop run by a guy named Tyler. I specified an Aqualoy 22 shaft, same dimensions as the old one, with a new split coupler (which connects the shaft and transmission).
While we waited on production, Gary and I disassembled much of the engine, removing the heat exchanger, alternator, exhaust, and some smaller pieces. With uncomfortable access now possible, we turned our attention to the seized cutless bearing. One accepted way to remove an old bearing is to very, very carefully cut through it with a hacksaw (or reciprocating saw, if you’re brave) in two places, deforming the bronze and then extracting it. We opted for this, after carefully examining the bearing both from the outside of the boat and with a fiber optic camera.
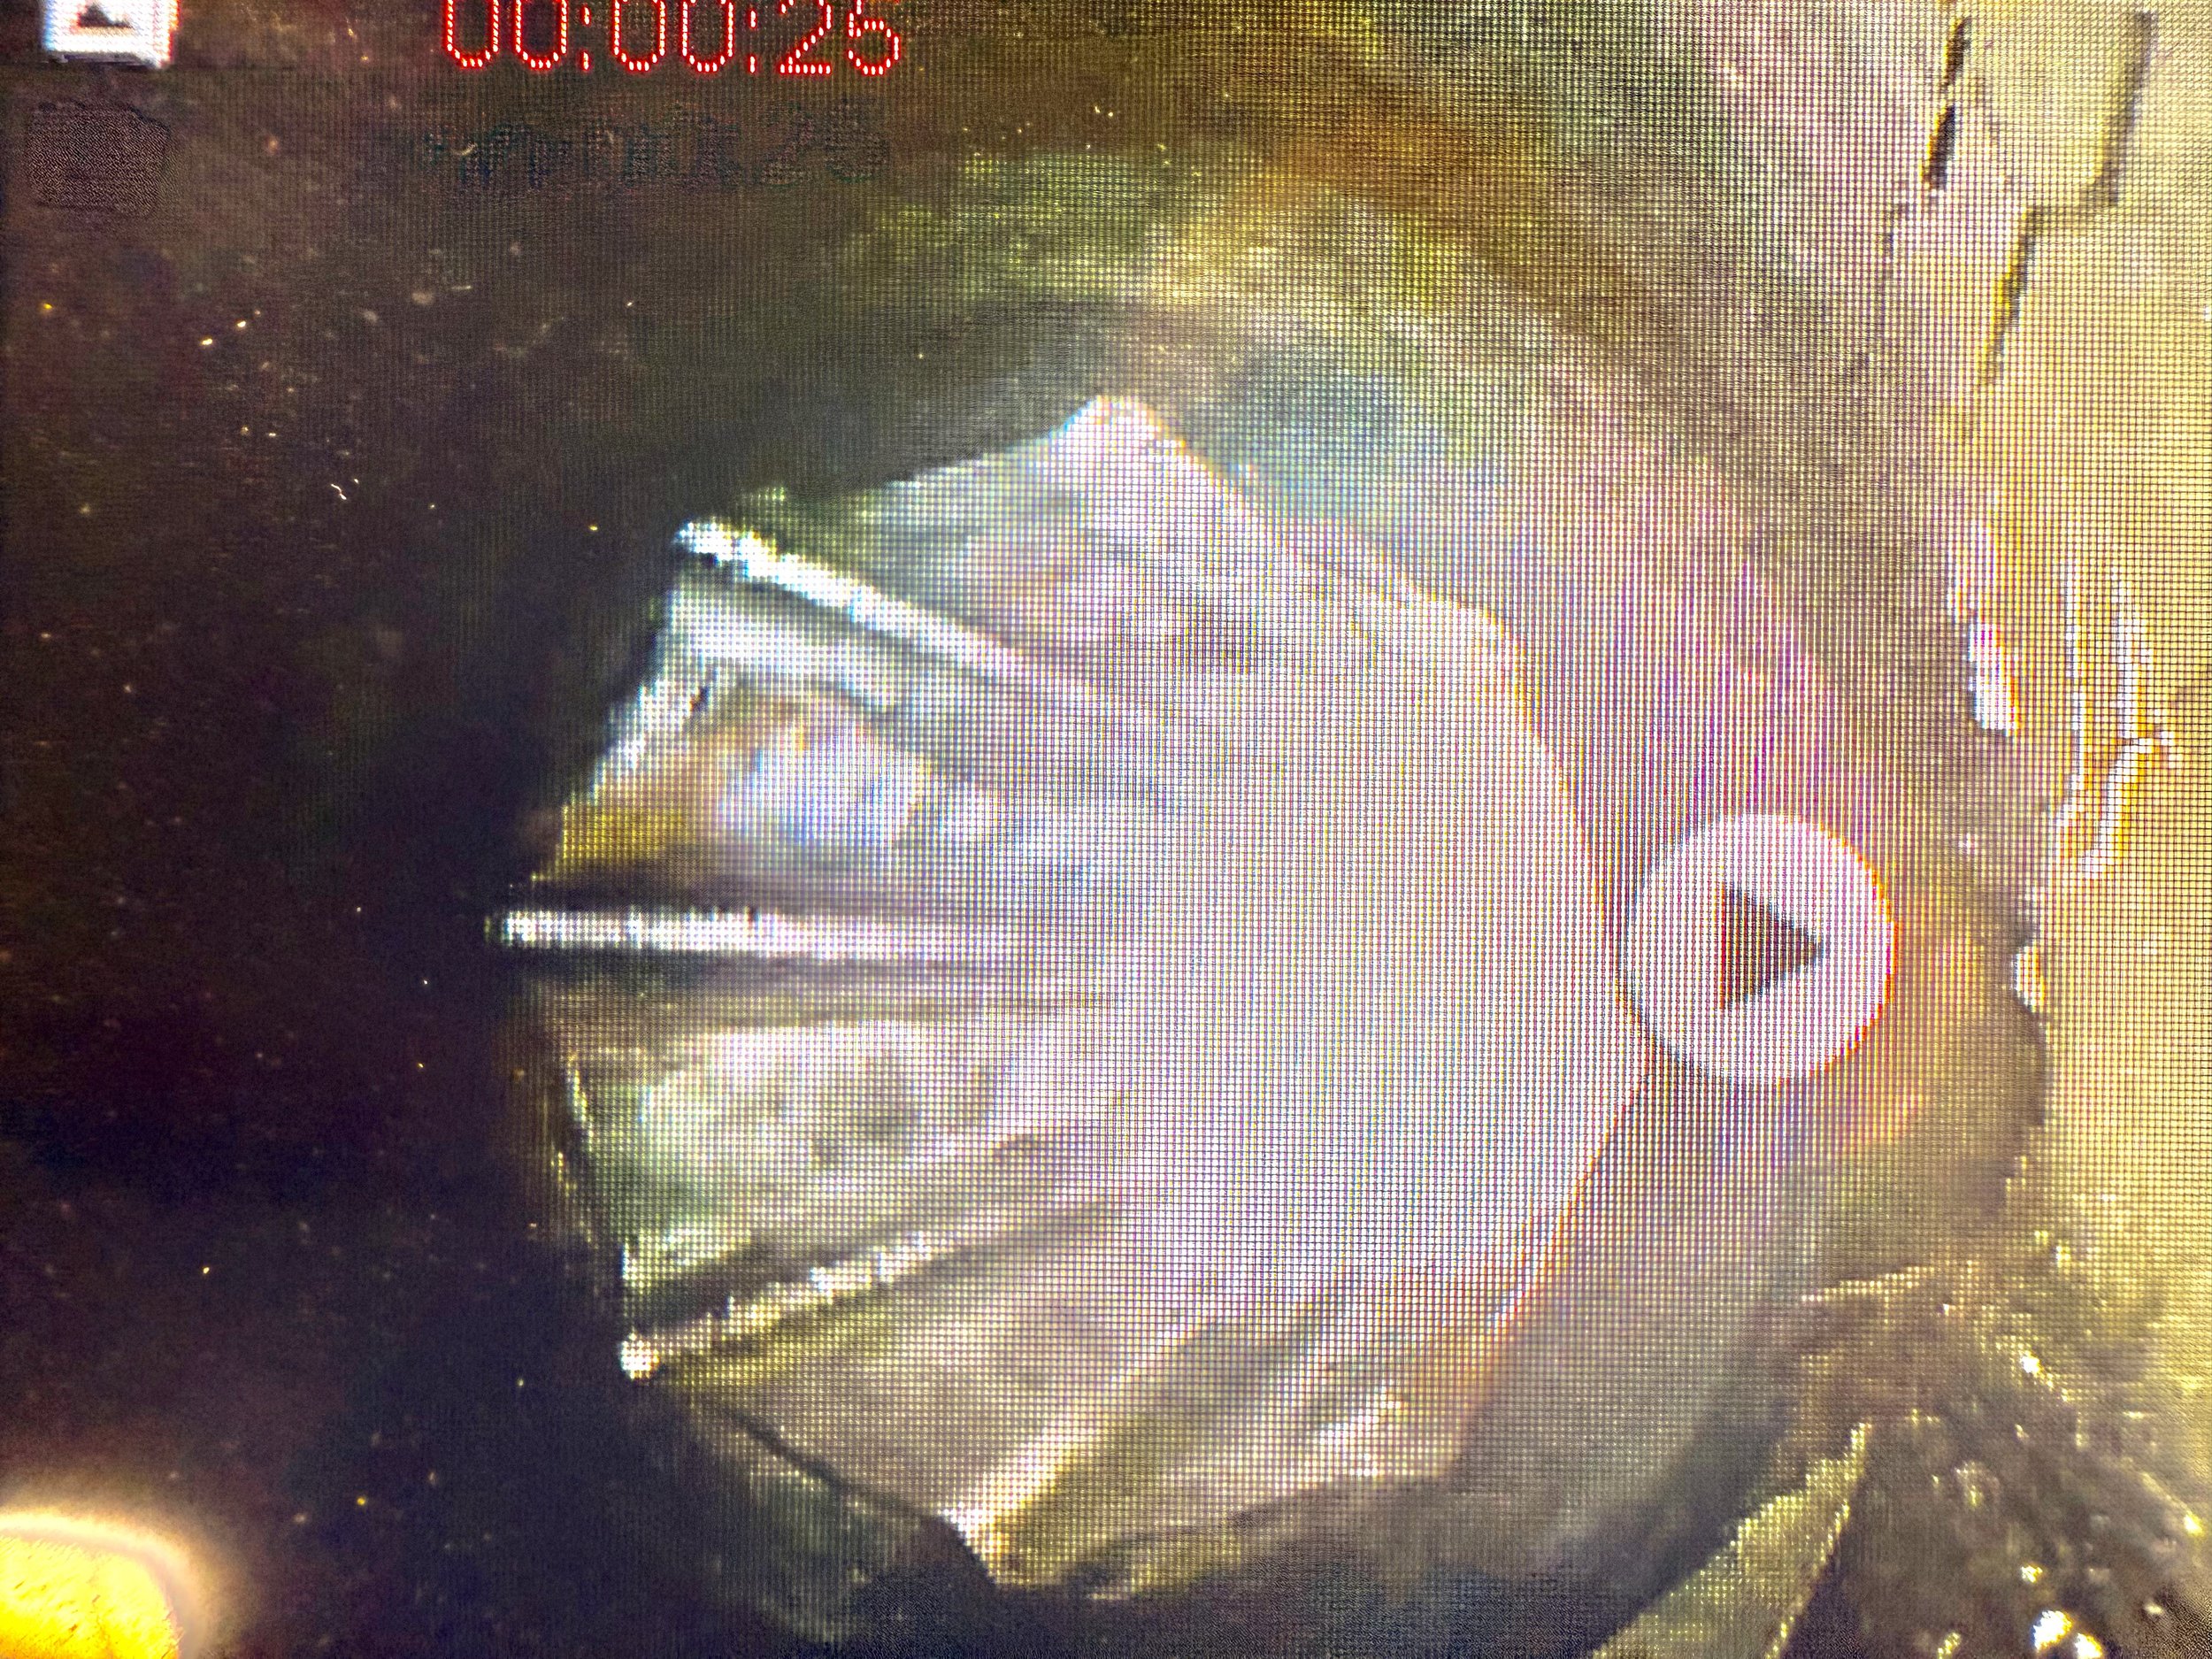
Inside the shaft log.
Examining the inside of the log with a fiber optic camera, one of my favorite on-board gadgets.

Starting the job.
Removing the rubber fluting from the inside of the bearing.
Success! The old bearing sitting on the shelf.
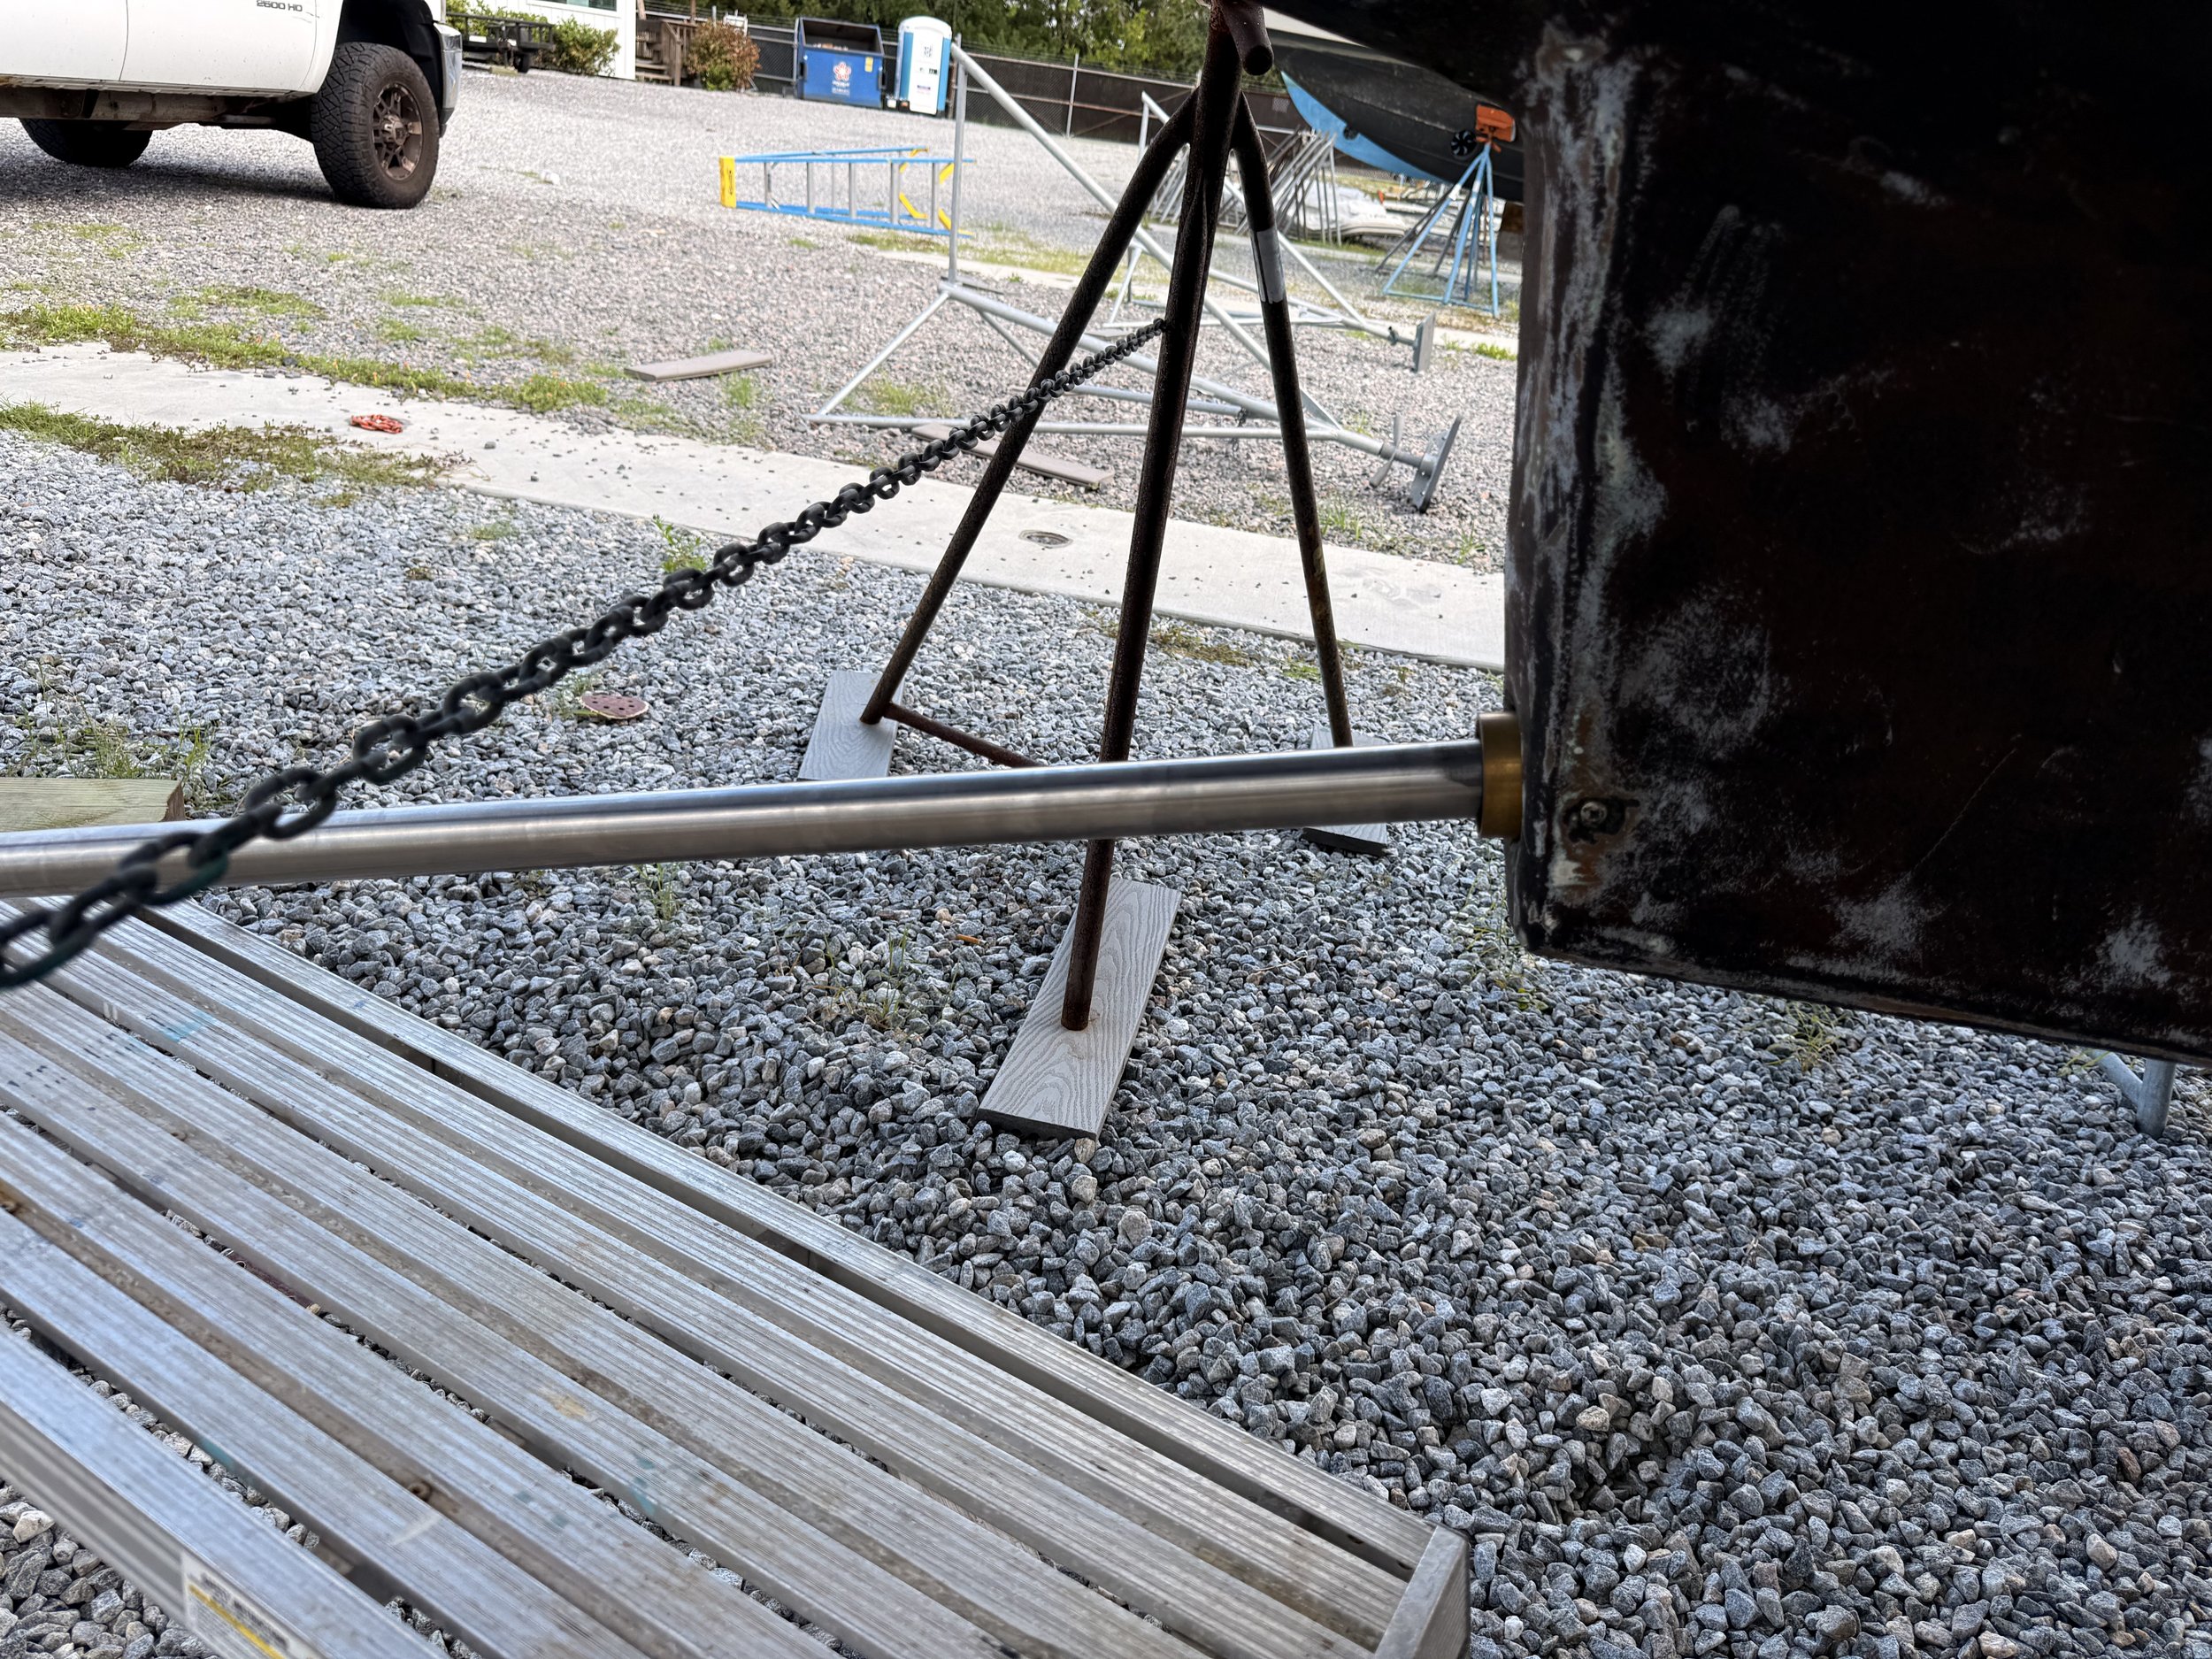
With the old shaft out, getting the new one in was comparatively easy. We used a sacrificial block of wood and a deadblow hammer to tap it into place, and in short order had the job complete.
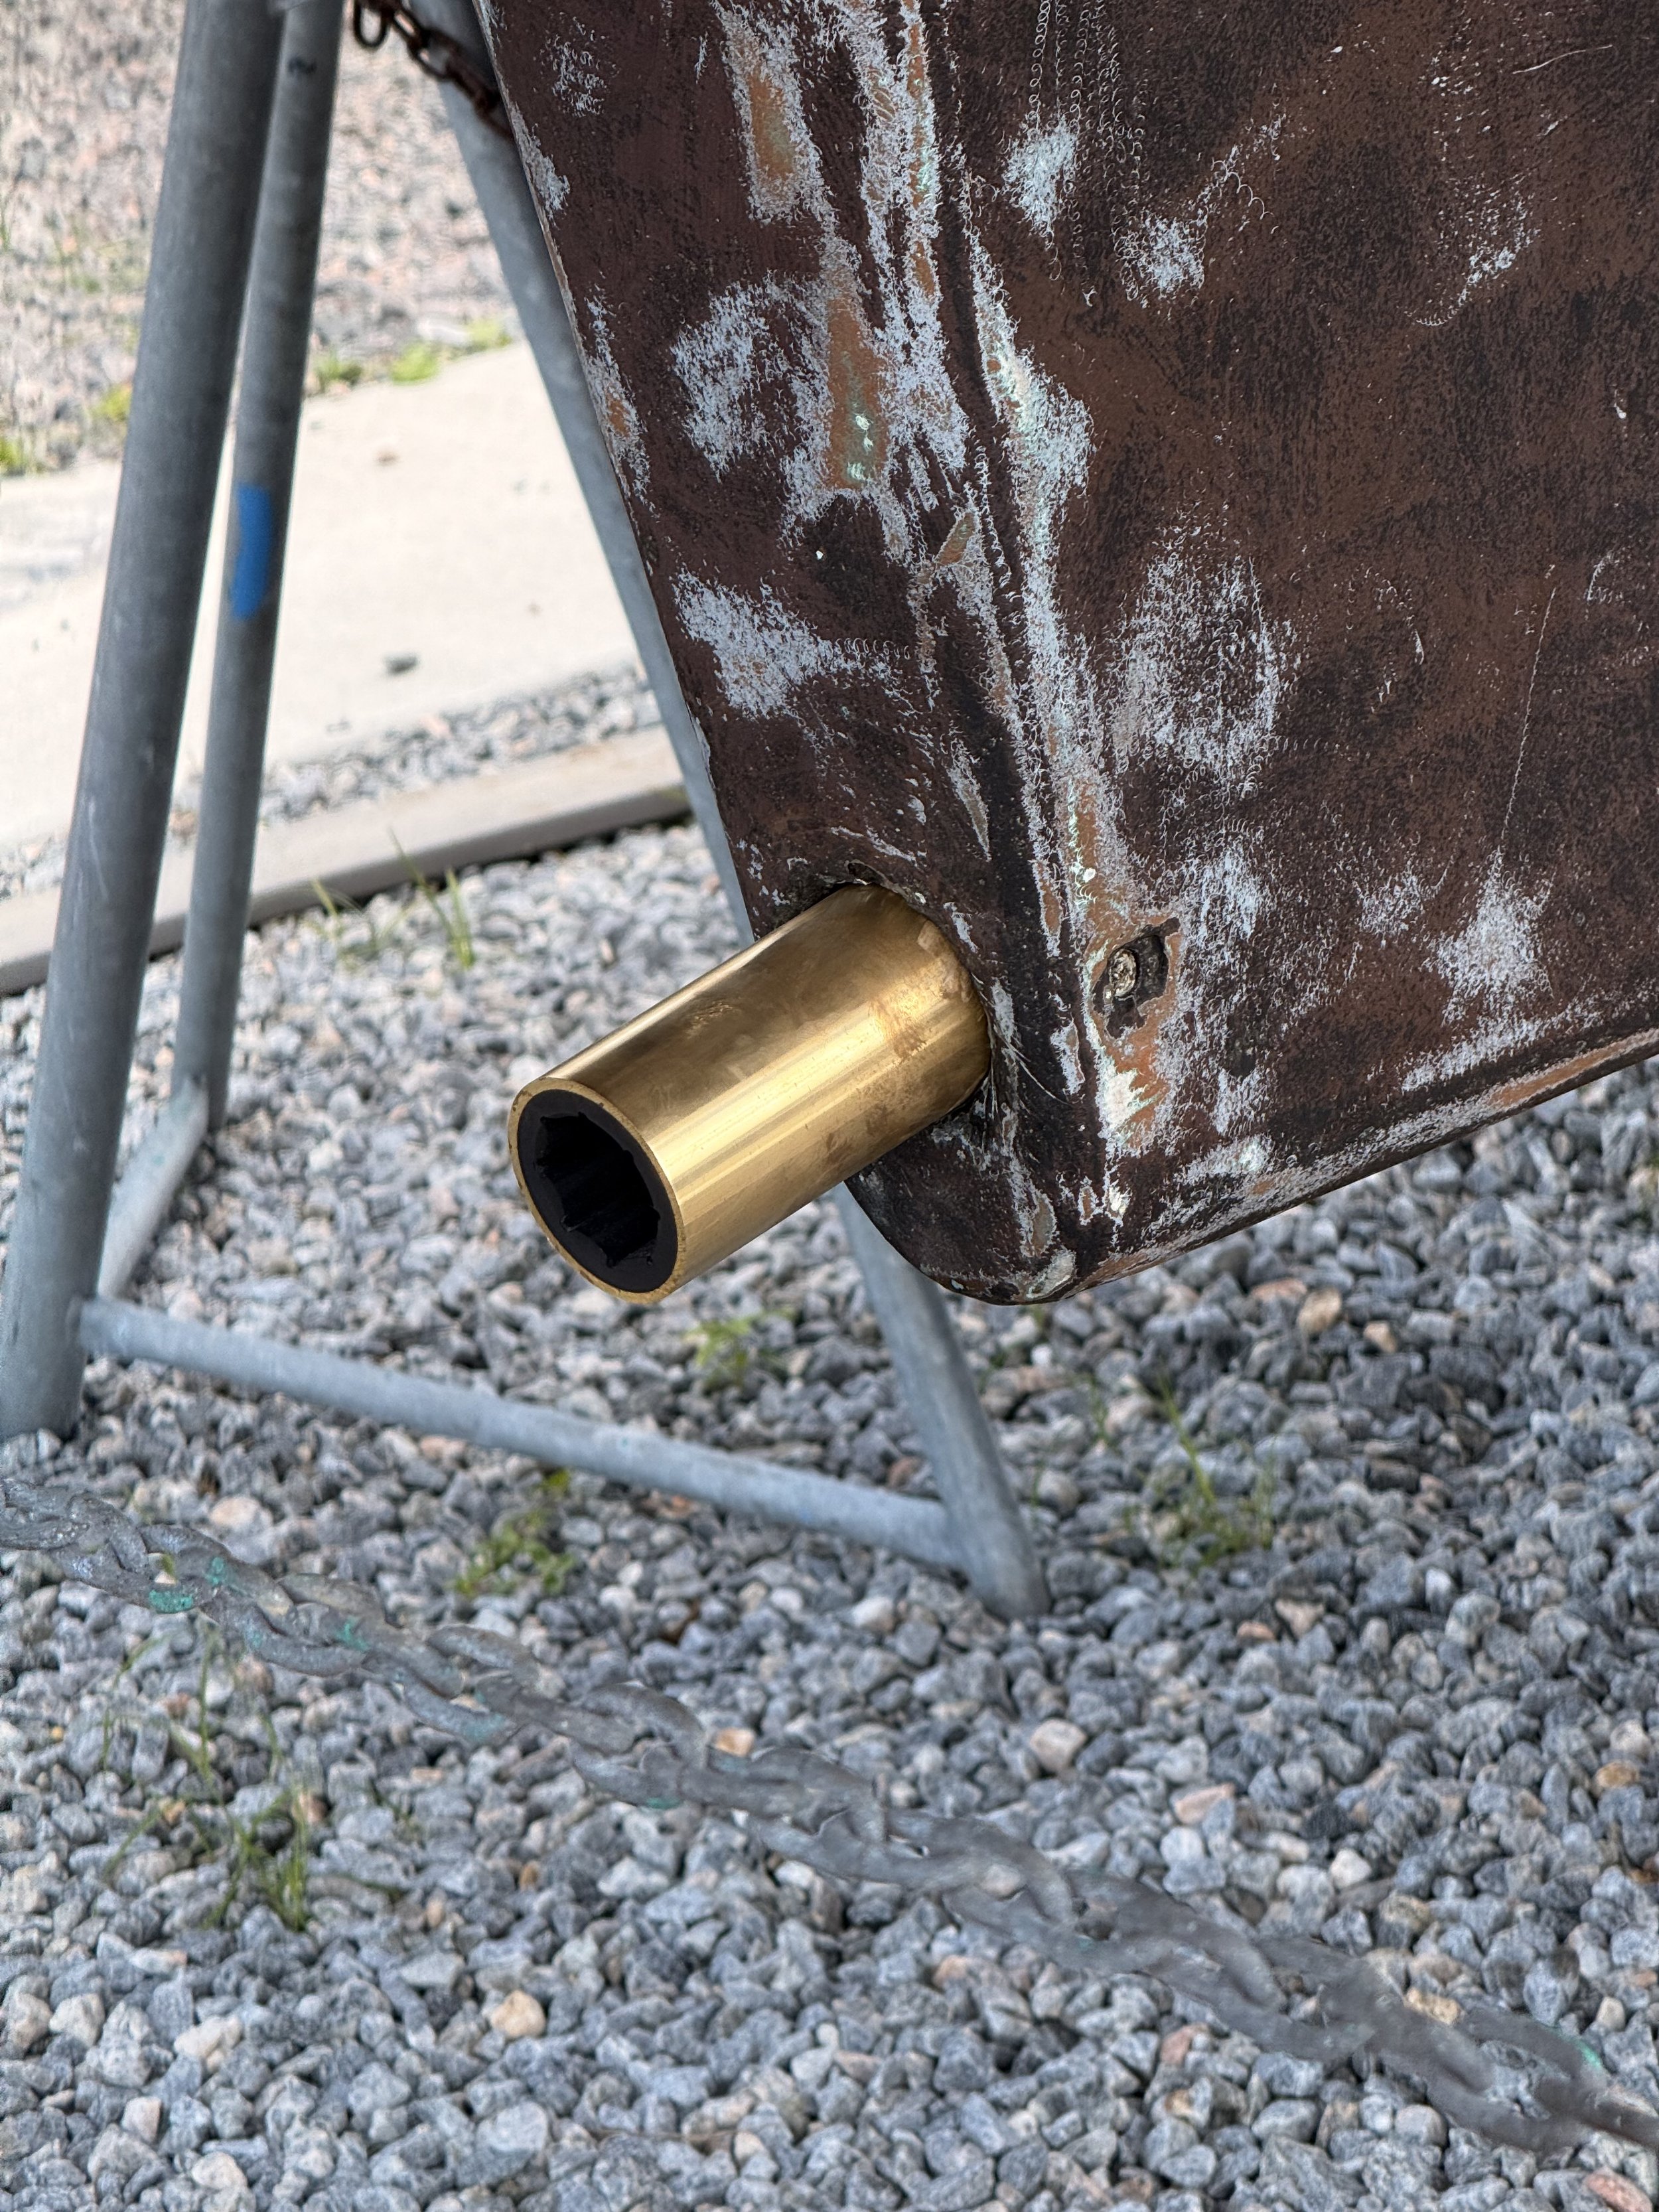
In she goes!
The new cutless bearing fit perfectly.
While waiting for the shaft to be completed, I ordered a new packing gland.

Self-aligning packing gland.
Two-part glands like this are easier to repack and tighten underway, and with our limited room in the engine compartment, a better option.
Once we had it in place and re-packed, we got to work on installing the new shaft - it arrived over a weekend, and by the time I got to the boat, Gary had it halfway installed!
Using soapy water as a lubricant, we gradually tapped the shaft into place, leaving it shy of the transmission. Sadly, the coupler that was included shared the same part number as the original Perkins coupler, but had a different size flange and different bolt pattern, so it went back to Dominey’s to be replaced.
Beautiful (and expensive…) piece of steel going in!
Stalled again, I turned my attention towards the brightwork, which needed to be re-sanded and re-varnished before the chainplates came. At least a week of sanding-by-ladder lay ahead of me, but nothing to do for it until we had the new coupler in hand…