CSY 44 - Why Replace Original Chainplates?
Rig failures can be disastrous, even fatal. A mast coming down can both kill anyone unlucky enough to be in its path, but also punch a serious hole in the hull, sinking the boat quickly. Sailors have a predilection for pithy sayings, and one of the most significant is, “Keep the mast up, the water out, and the crew happy — in that order.”
Rig failures often happen with a bang!, as a piece of standing rigging (the wires that hold the mast up) fail under load, often when the boat is in heavy winds. Rigging fails for a few reasons, generally fatigue related: the wires themselves might be compromised, fittings (tangs on the mast, turnbuckles and toggles at deck level) might fail, shock loading due to a poorly tuned rig (too slack, usually) might come into play, or the chainplate (where the rigging connects to the boat hull) might be corroded, often invisibly.
Standing rigging should generally be fully replaced every 7-10 years, and inspected regularly - before every major passage, as a best practice, including at the masthead. Chainplates often get overlooked, in part because they can be hard to get to, and in part because they look fine to the naked eye even when they have begun to corrode.
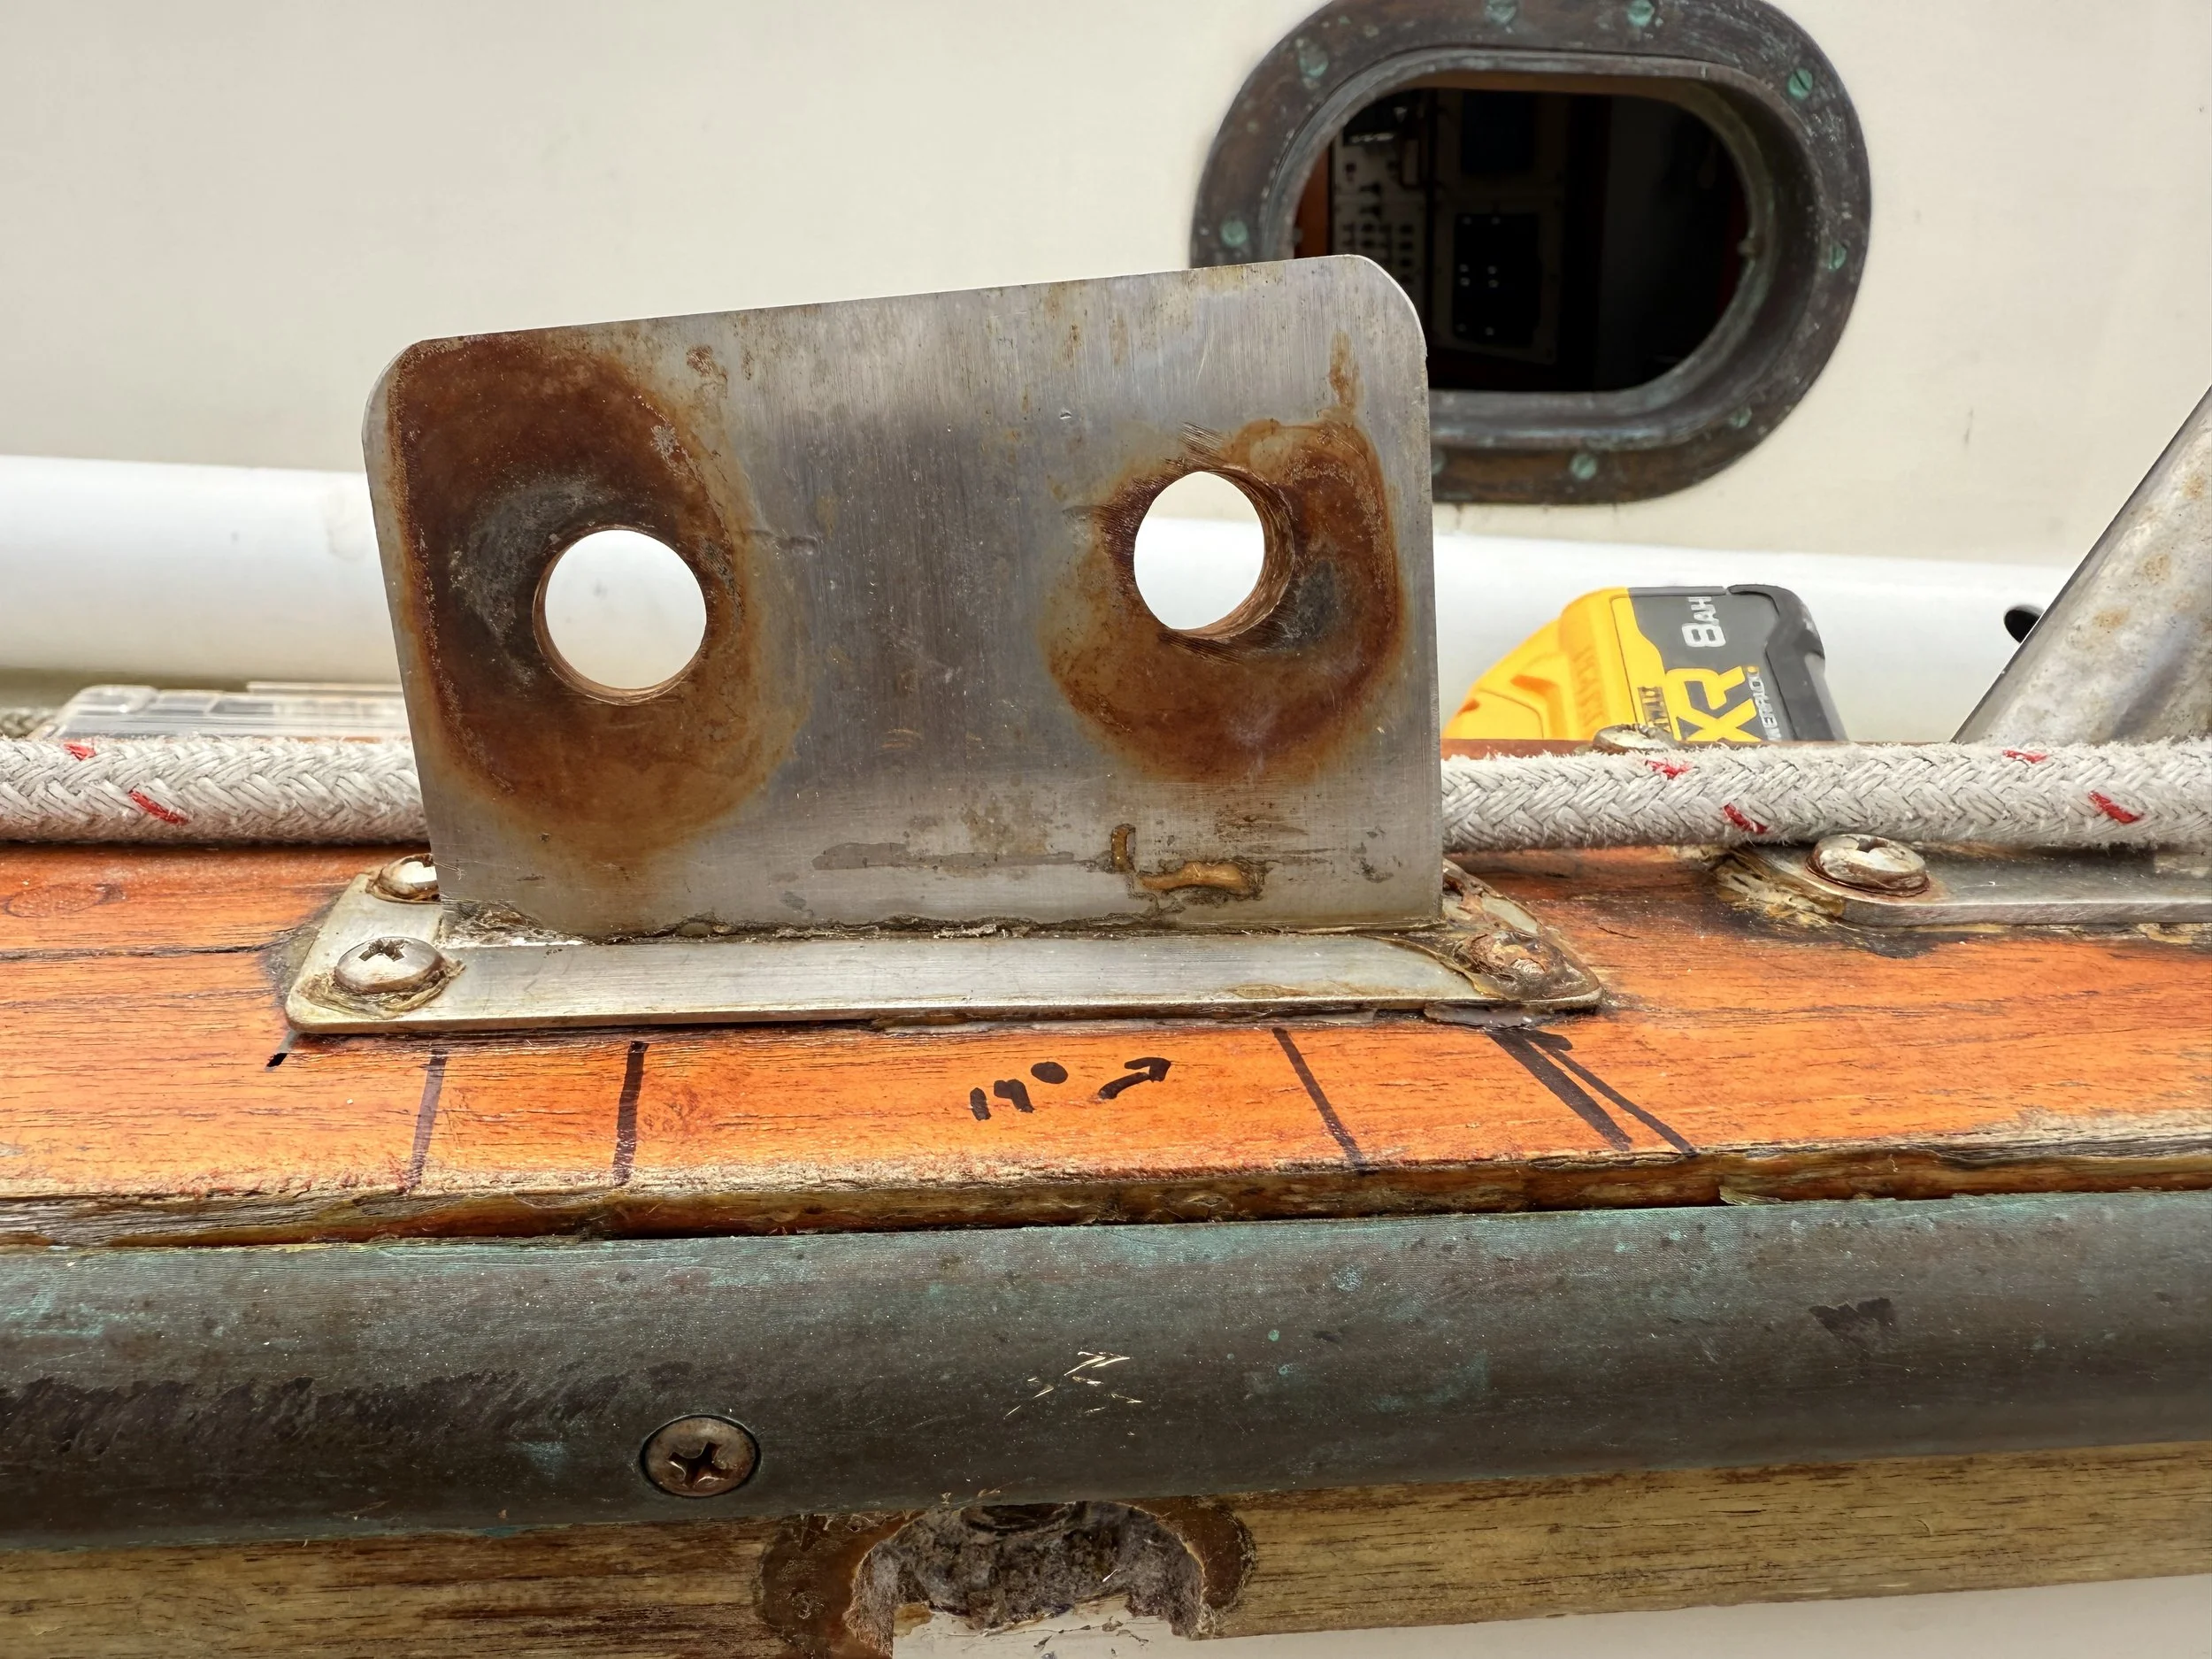
Sudden, localized failures of stainless steel were initially recognized in the mid-20th century, but they were poorly understood. It was not until the 1960s that researches began to realize that pitting and crevice corrosion were signs of pending catastrophic failure, although standards around how to identify and prevent this took another decade. Crevice corrosion in steel generally occurs when a metal part is both exposed to water and is in an anaerobic environment. On older boats like Blue Turtle, the chainplates were located installed the hull, with the tangs - the pieces where the standing rigging attached to the plates - penetrating the caprail that runs along the bulwarks. Sealed in place and covered with a small steel plate, they are perfectly positioned for exactly the kind of conditions that would result in their failure.
The original chainplates on CSY yachts were made from 304 stainless steel, the most common type of steel one finds in old boats. While 304 is relatively cheaper and polishes well, it has a lower molybdenum content than 316 stainless, and thus is more subject to corrosion. Put it all together, wait 20+ years (as was the case on Blue Turtle), and you have a perfect setup for the rig coming down.
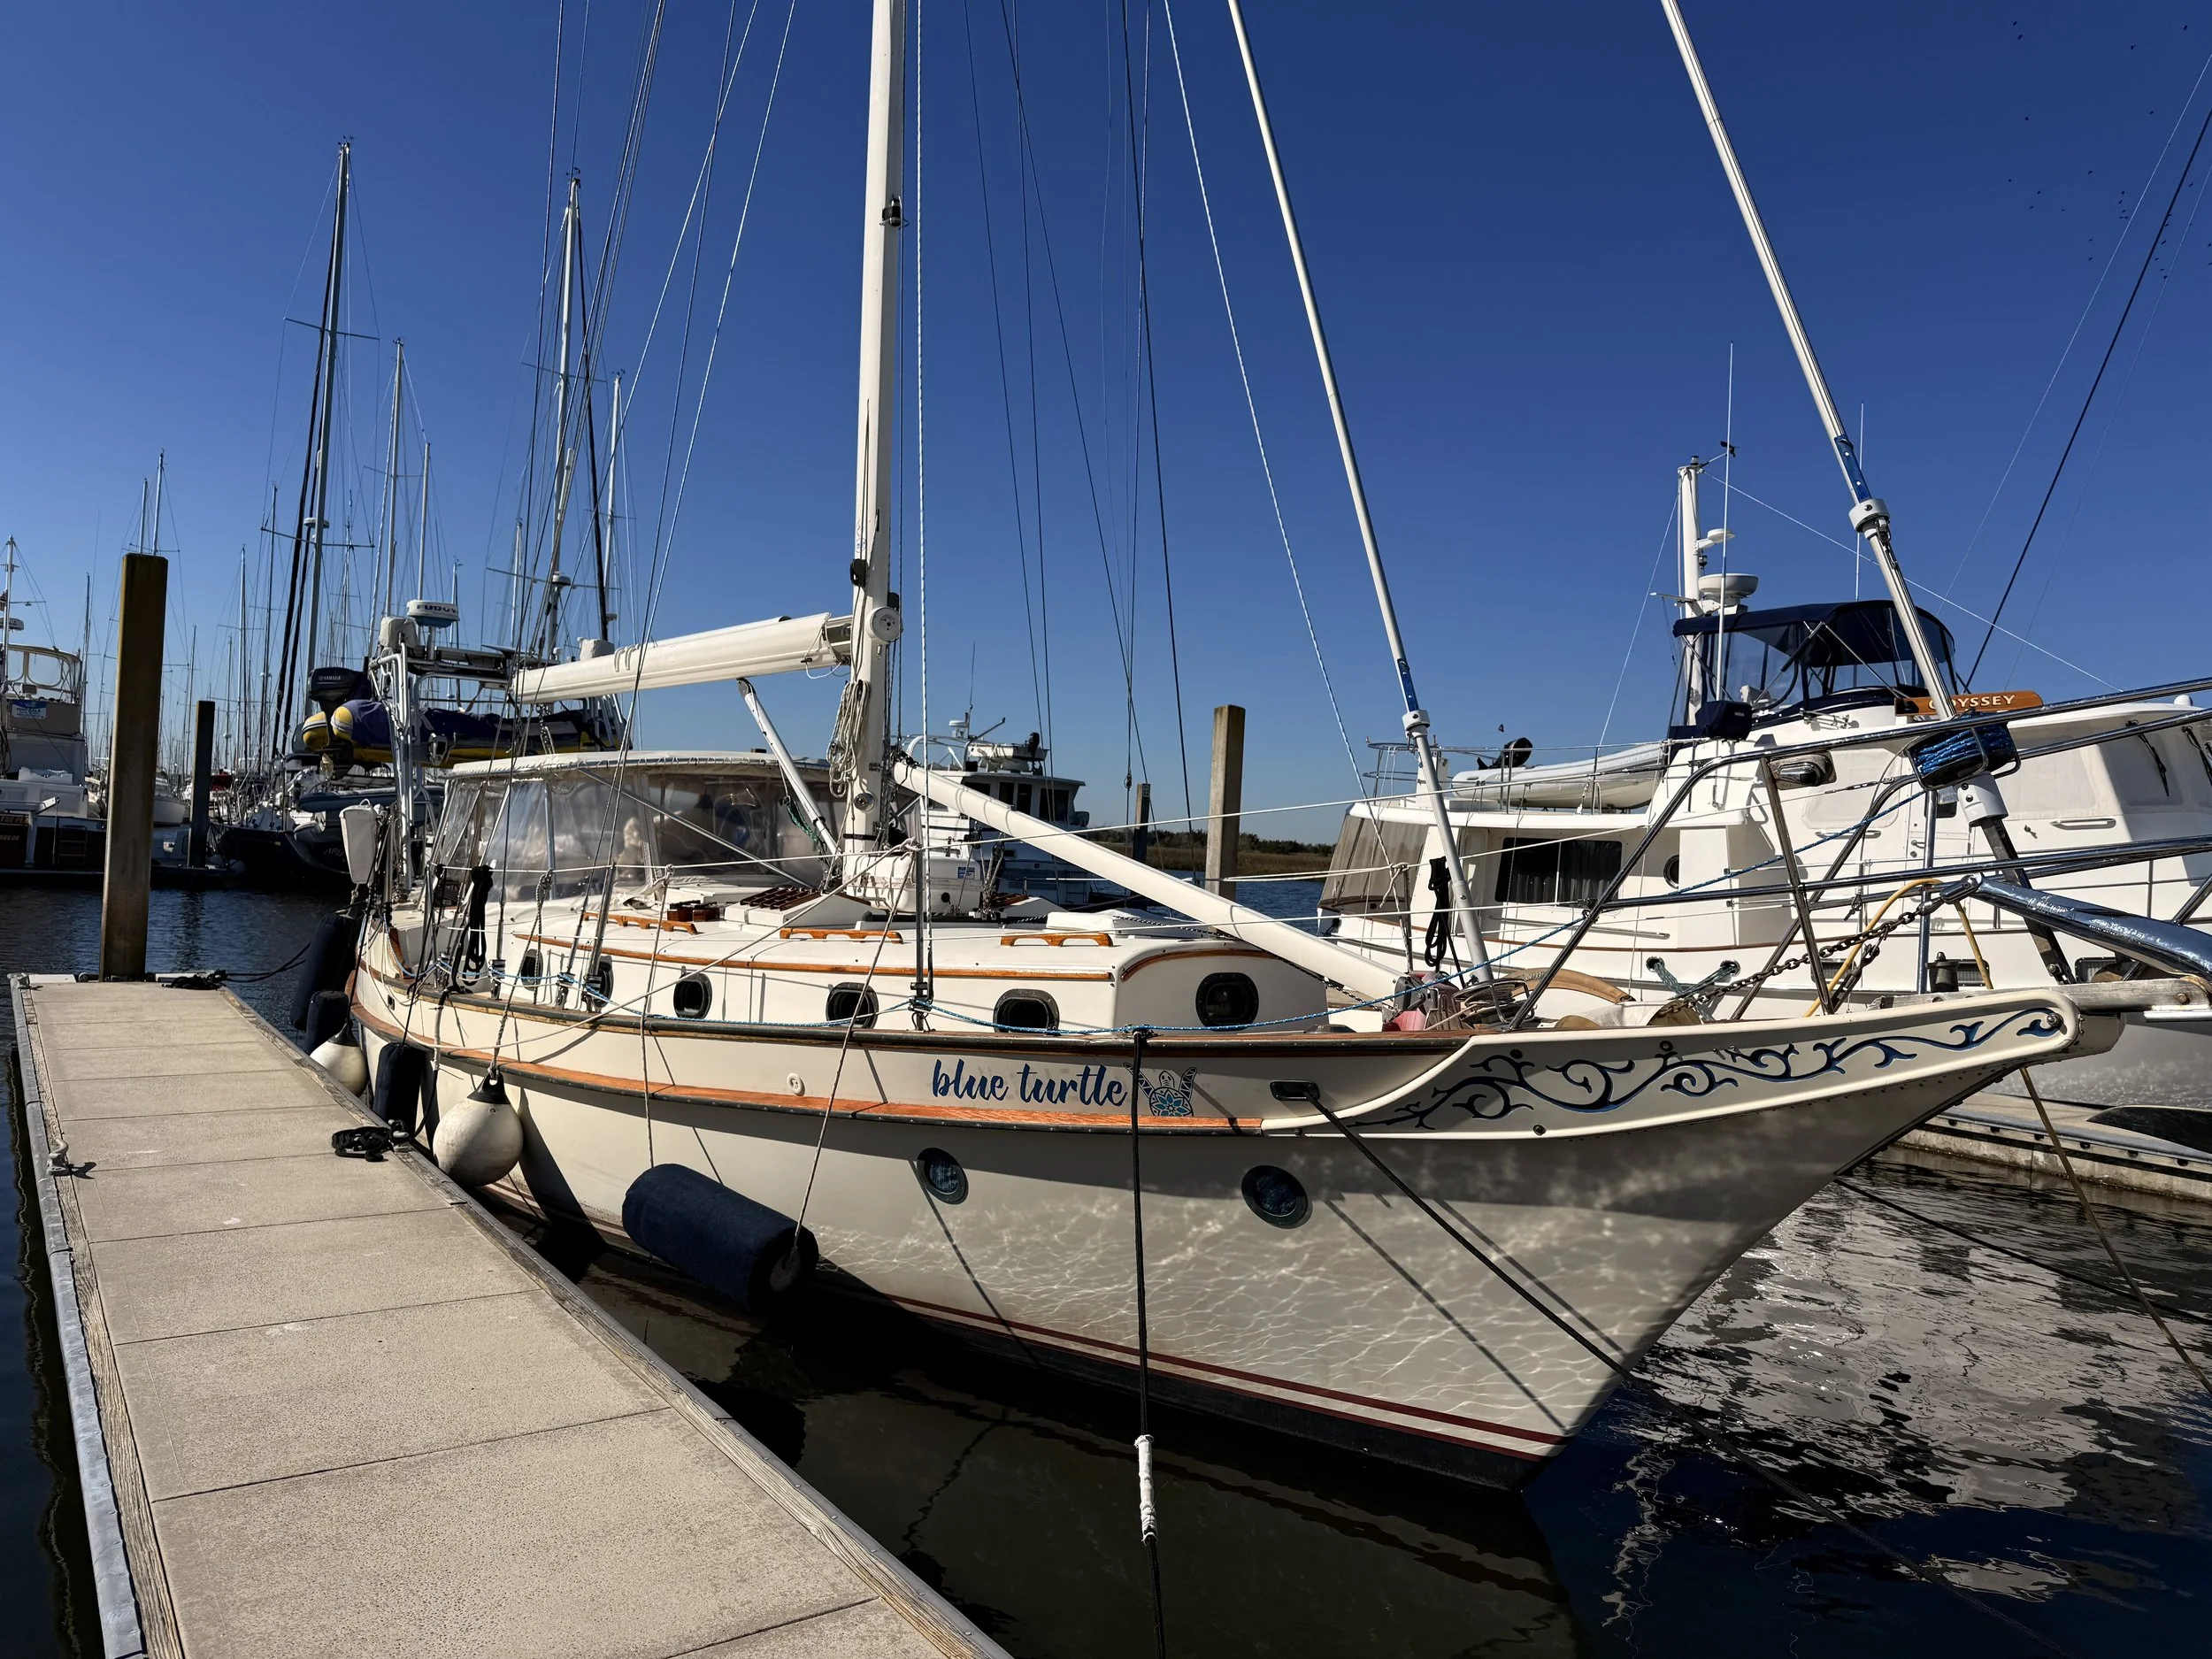
Various CSY 44 owners have converted their CSY 44s to use external chainplates, which allows for significantly easier inspection and replacement. Not long after we purchased Blue Turtle and put her on the hard, we realized that we needed to replace ours, and drew inspiration from Dave and Sherry McCampbell’s first boat, a CSY 44 named Soggy Paws.
Unfortunately, CSY 44s are now quite old, and the surviving information on this project is all getting dated. The fabricator who the McCampbell’s (and others) used, Rick Heim, passed away a few years ago. The surviving design documents are scanned hand-drawn pictures. Pricing information was over a decade out of date. Most of the owners who did this project have either sold their CSYs or retired from cruising.
We completed our conversion in the summer of 2025, and have written up the process here in case anyone else out there is still sailing these old (but solid) boats and is facing down the same process.
Step 1: Removing The Original Chainplates
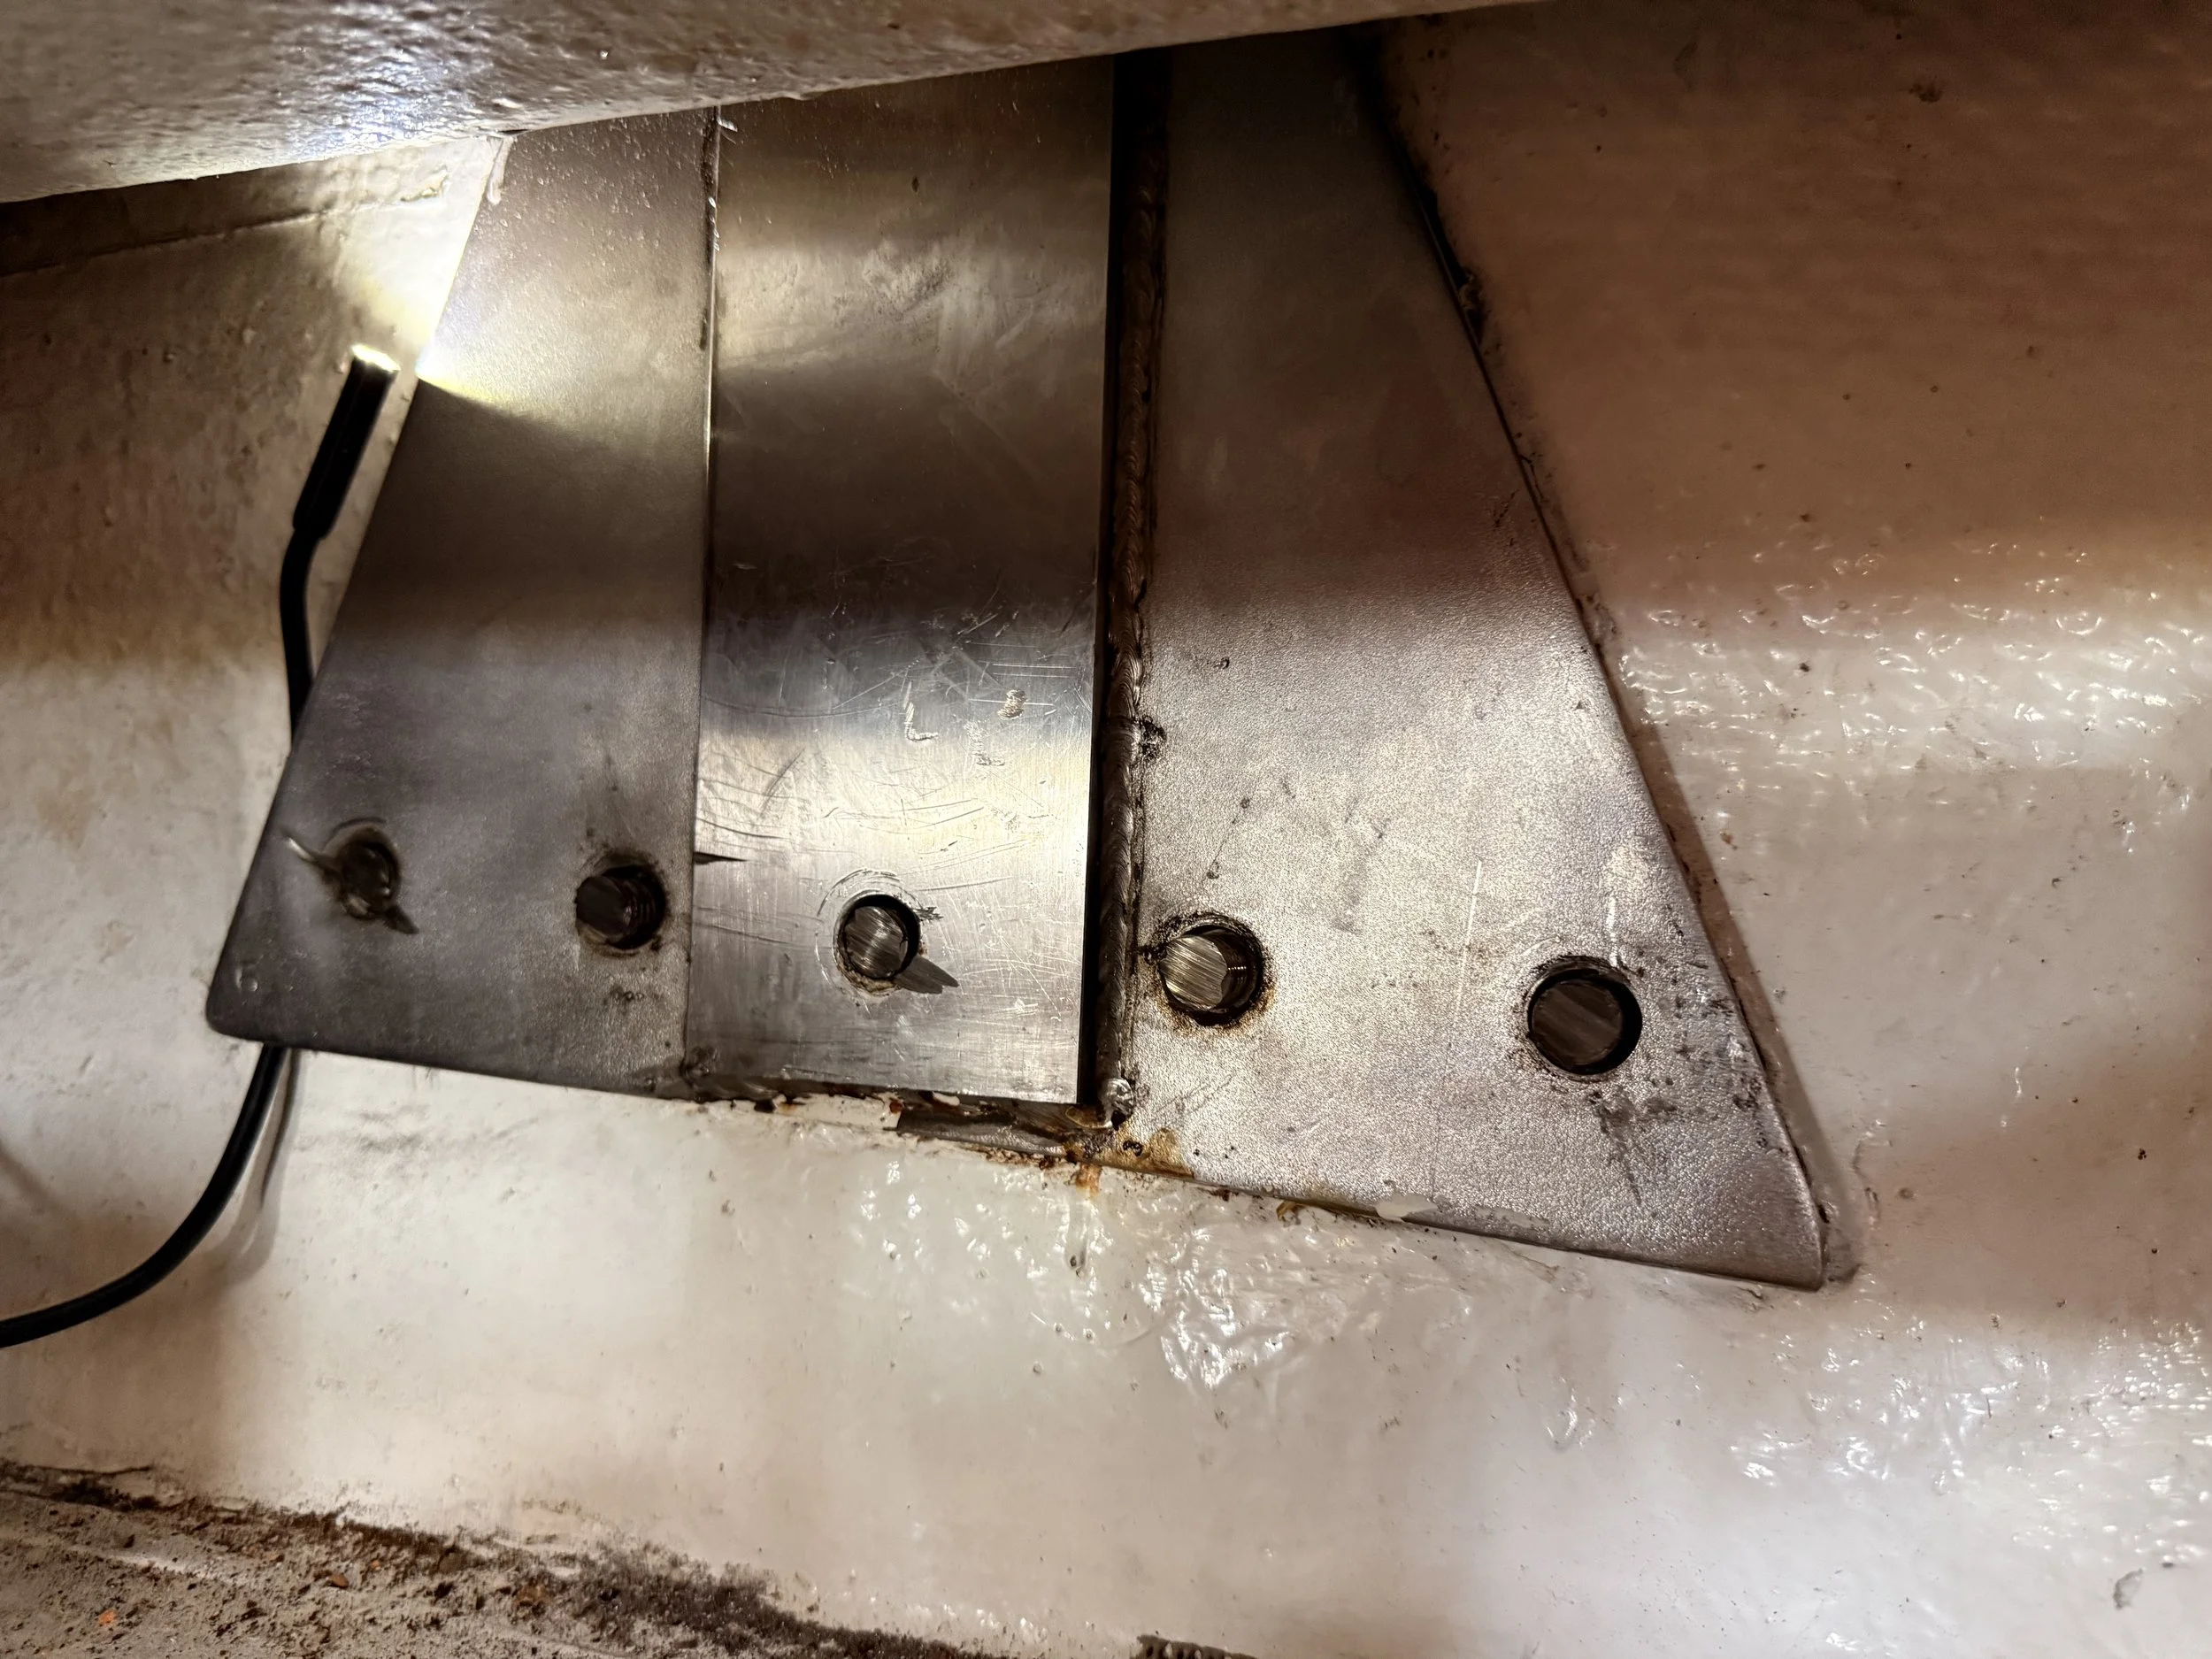
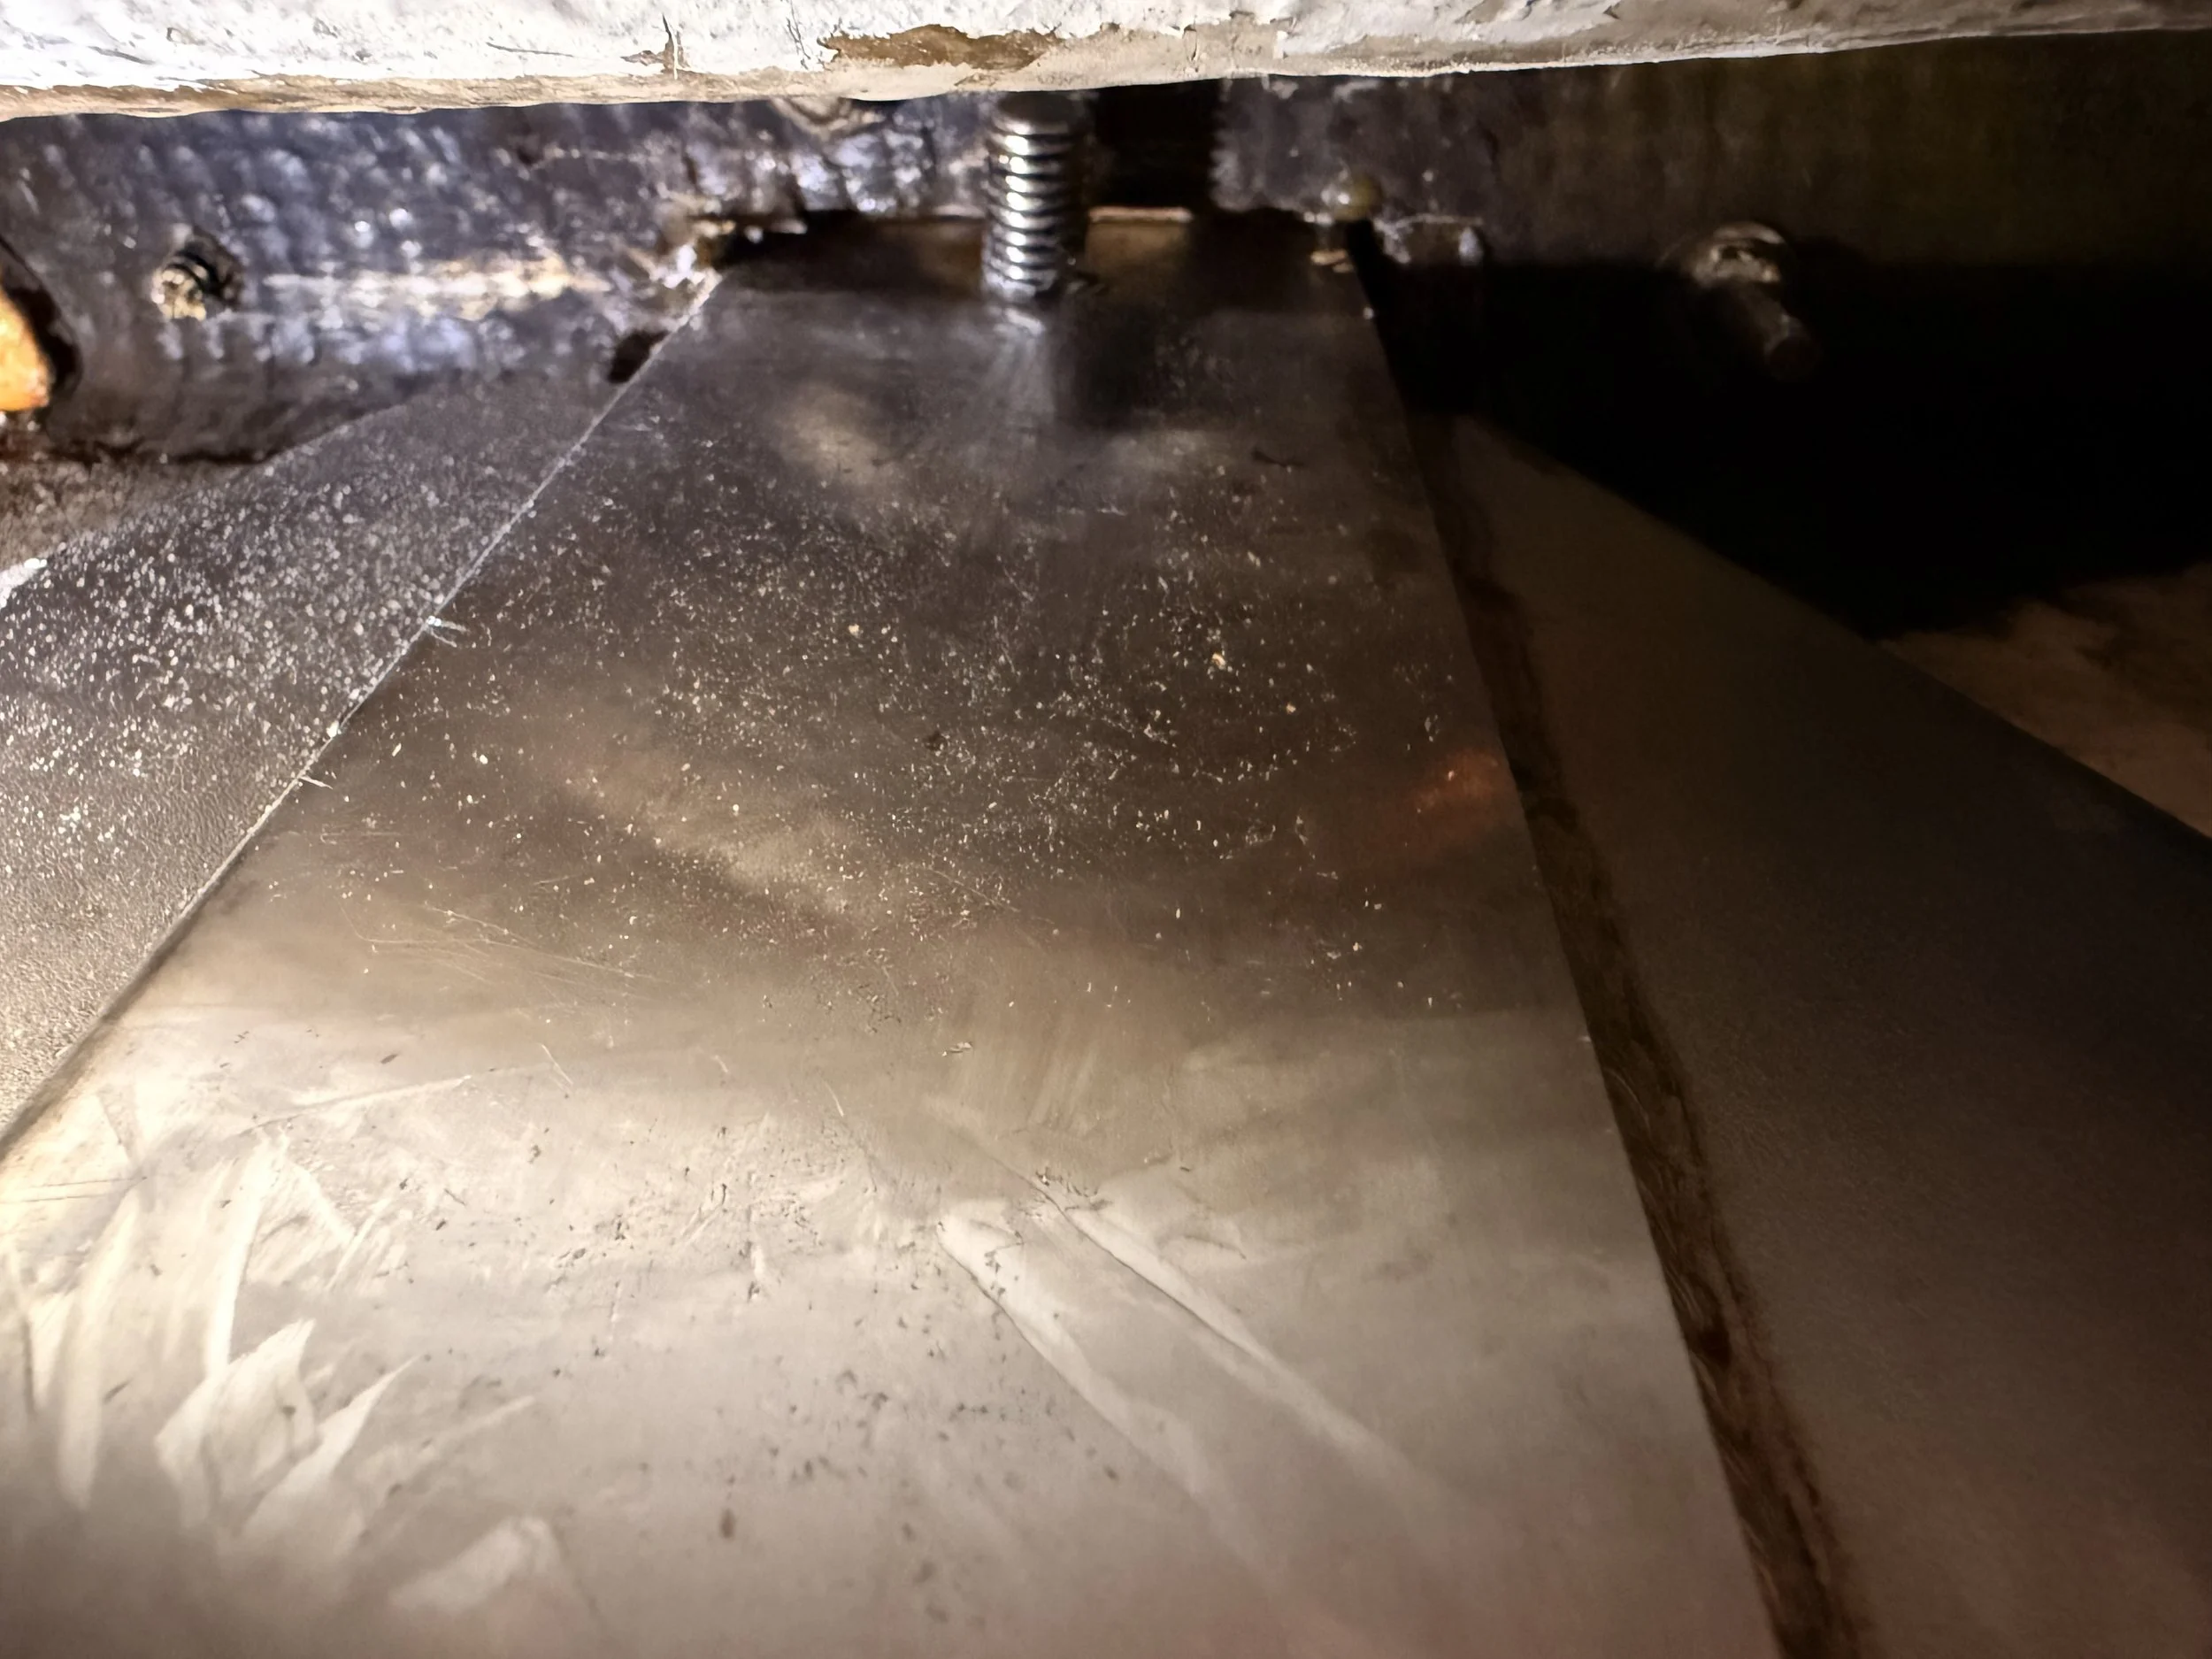
Blue Turtle is a CSY 44 Walkover, and our boat may not be exactly the same as other CSY 44s out there. For us, the original chainplates were located in the salon, behind cabinetry on the port and starboard hulls. They consisted of a triangular plate with a welded tang, each bolted to the inside of the hull. Five lower bolts are located beneath the teak rubrail, and one top bolt is beneath the caprail.
We didn’t want to remove the rubrail, as it’s large, highly visible, and would be nearly impossible to match with any repair. Instead, I used an angle grinder to remove most of the lower bolts. I then drilled out the top bolt heads, and with a helper, removed the top bolts and then carefully pried the plate away from the hull while hammering the tang down through the caprail. It was slow, noisy, unpleasant work, but each plate came out relatively cleanly.
Step 2: Fabricating New Plates
The original chainplate angles both fore and aft and inwards on Blue Turtle were:
Forward plate: 20 degrees inwards, 4 degrees aft
Middle plate: 15 degrees inwards, 3 degrees forward (essentially vertical)
Aft plate: 10 degrees inwards, 8 degrees forward
Working off of the original hand drawings we found, my brother in law helped create a proper CAD file for the replacement plates. With it, we ordered fabrication of 6 new plates fabricated in 1/2” thick 316L stainless steel, for a total cost of around $4,000. I had hoped to stay domestic, but ultimately had the plates made by Sinta Industry, as we couldn’t find a US fabricator who was willing to take on such a small job for less than $10k.
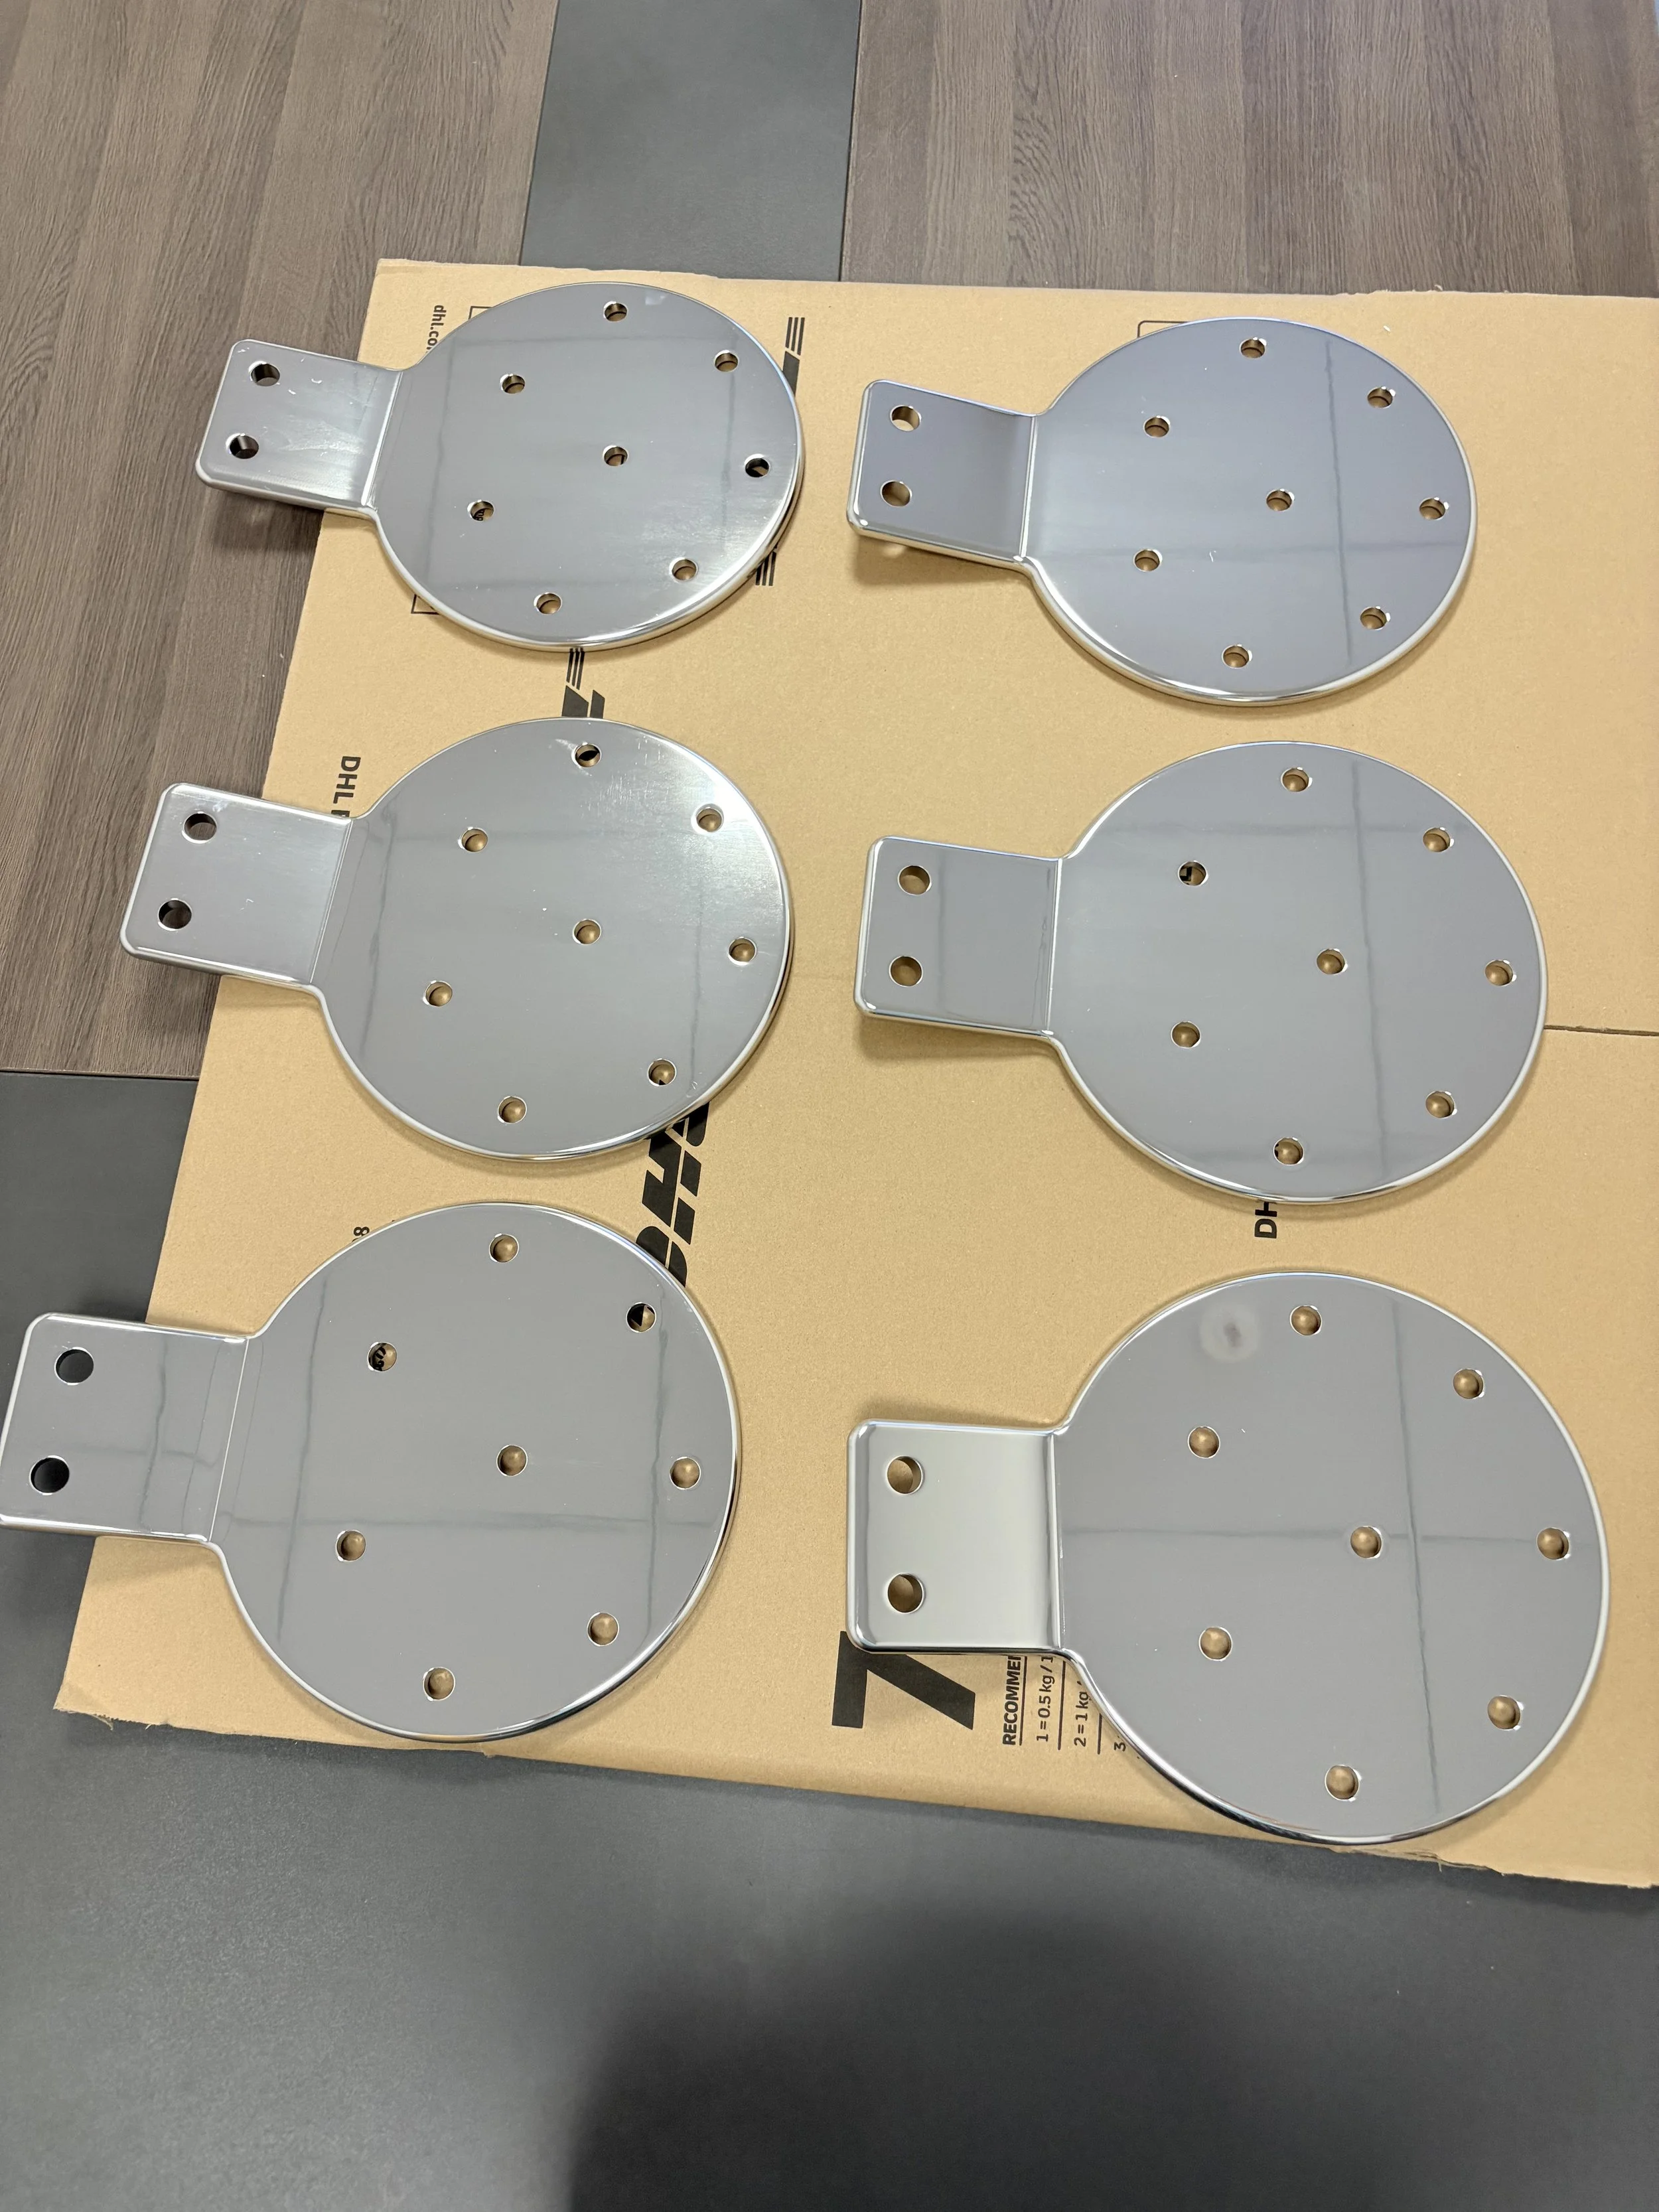
We opted to have the plates both electropolished and hand polished, to increase corrosion resistance and also for aesthetics; upon delivery, I also passivated them using passivating gel, although one could also use citric acid (lemon juice) to achieve the same result. The acid cleans the plates and removes any trace iron on the surface, often exposed during fabrication, and can improve corrosion resistance significantly.
Note that the CAD file specifies countersunk holes on the exterior face; I used 48 2 1/2” 316 stainless steel flat socket cap bolts to attach the plates to the hull, with 82 degree heads, backed by 1/4” custom-cut G10 backing plates epoxied to the interior surface, as well as flat washers and nylon insert (Nylock) nuts. We had good luck with www.marineboltsupply.com.
Step 3: Installing the New Plates
I